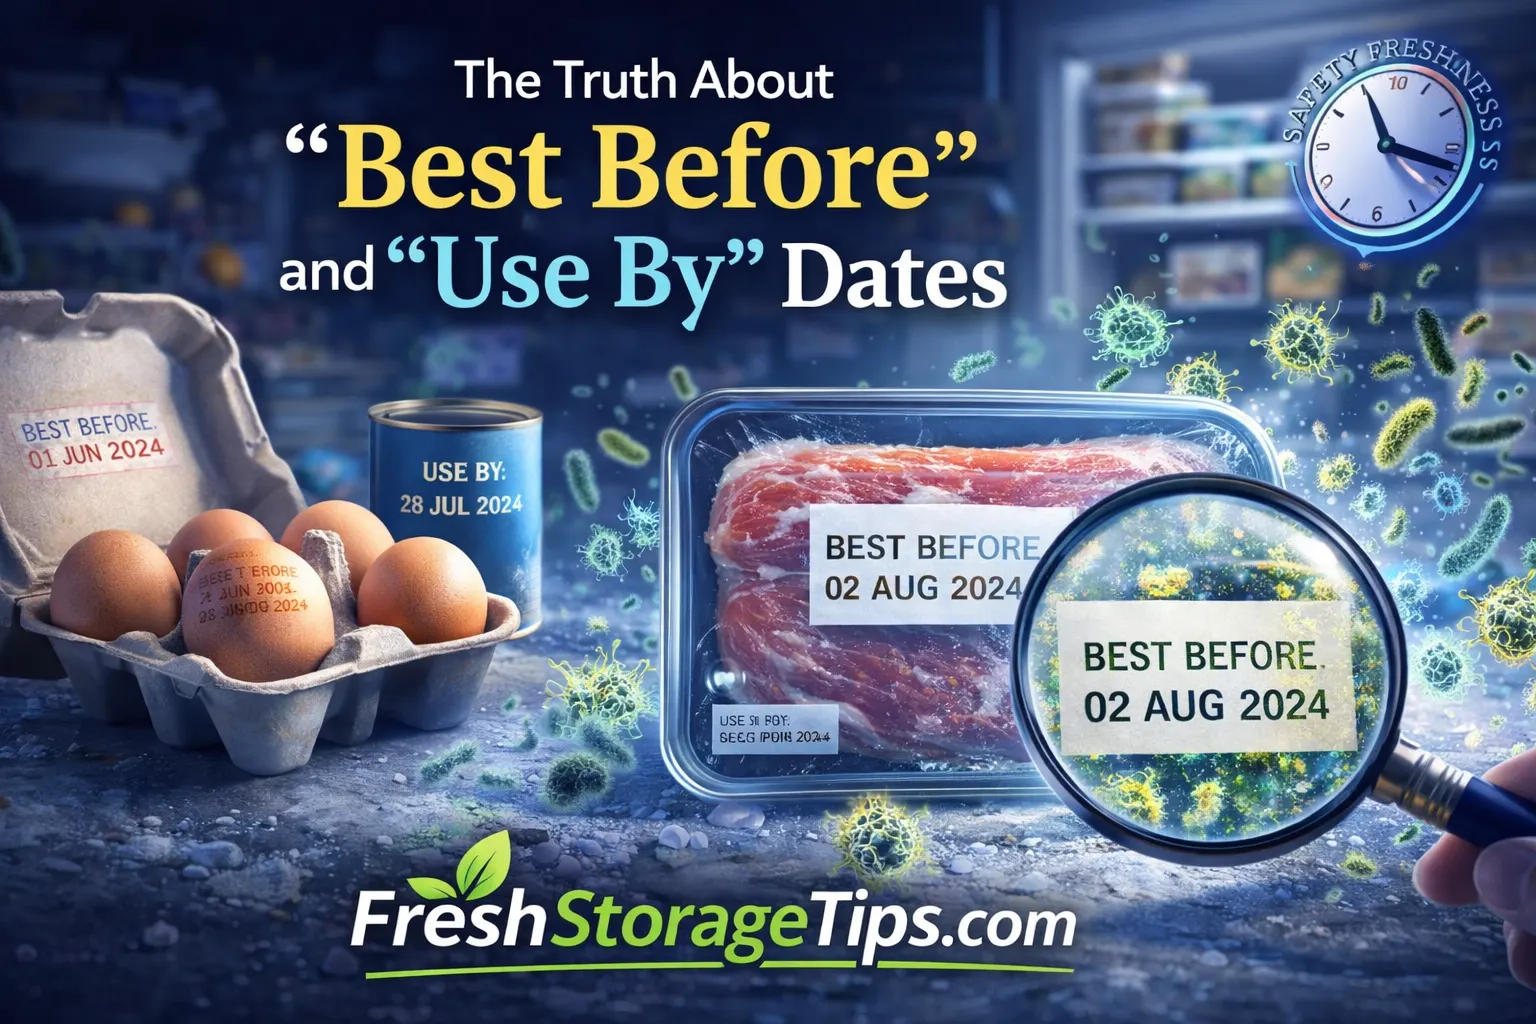
Best Before vs Use By: What These Food Dates Really Mean
You grab the milk from the fridge and the carton says “Best Before” was two days ago.
Your stomach drops. Do you pour it down the sink or take a sip?
Or that pack of chicken thighs with a bright “Use By” date staring at you. Is it still safe for dinner tonight, or are you about to give your family food poisoning?
Most of us waste hundreds of dollars every year because we treat these dates like a hard expiration deadline. Here is the shocking truth the food industry never explains clearly, and exactly what you should actually do instead.
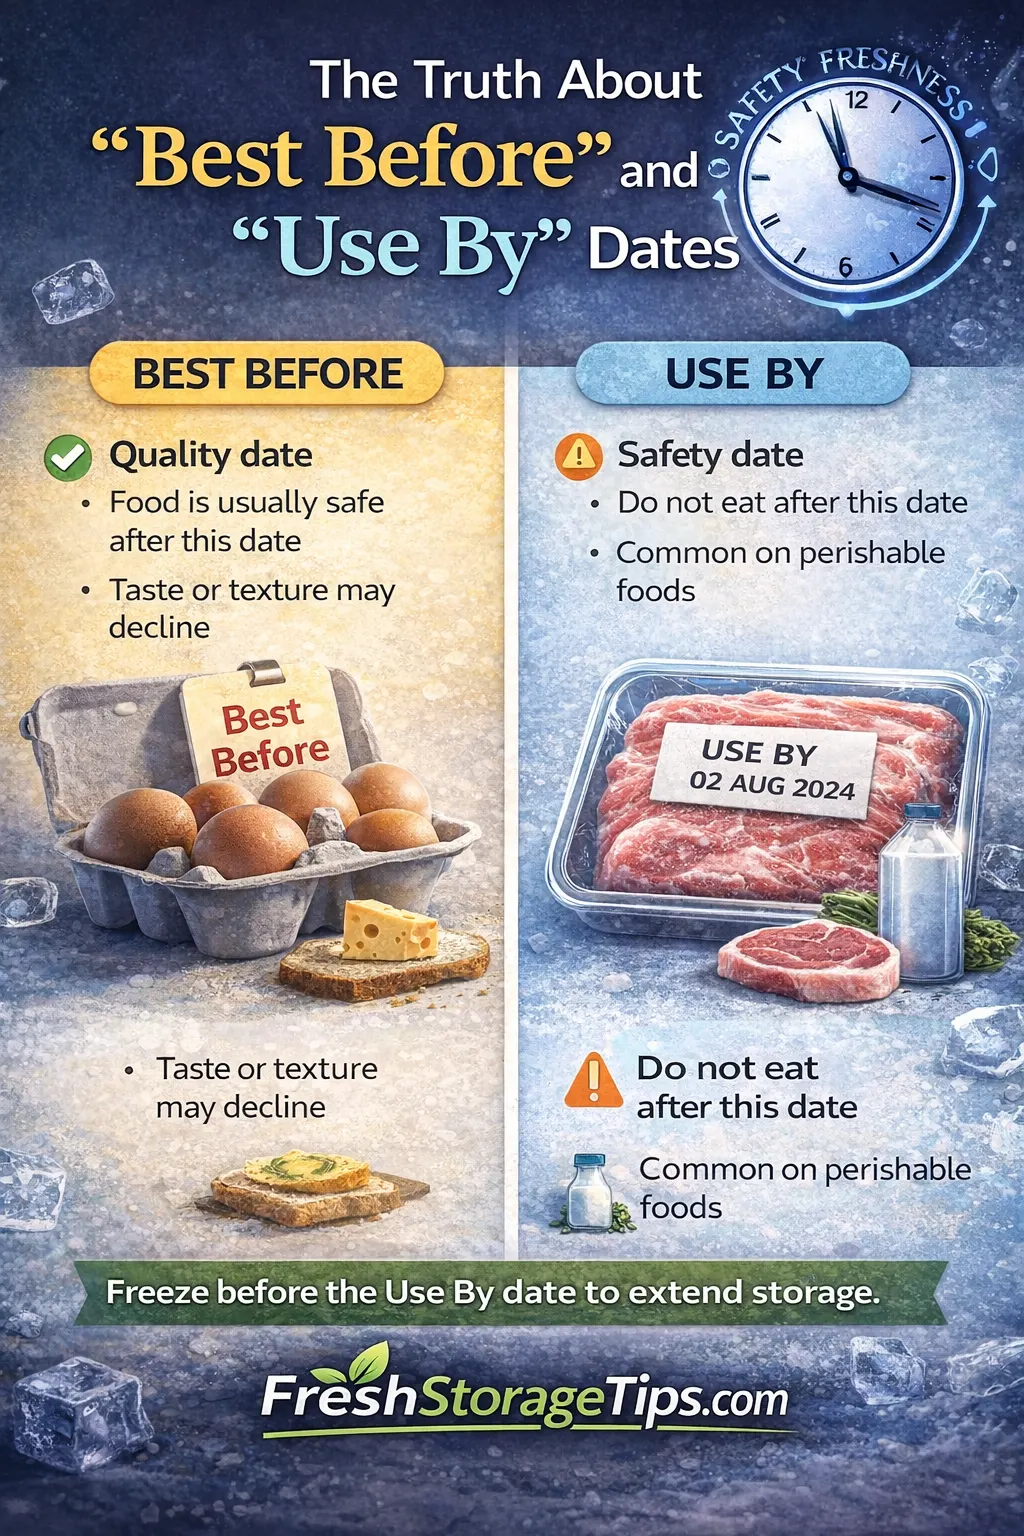
The quick answer:
“Best Before” is only about peak quality (taste, texture, and color). The food is usually still safe to eat for days or even weeks after, as long as it smells, looks, and tastes fine.
“Use By” is a stricter safety date for highly perishable items like raw meat, fish, and ready-to-eat salads. You should treat it more seriously and not eat the food after that date unless you cook or freeze it first.
Safety Fact: With the single exception of infant baby formula, the United States federal government does not require food manufacturers to place expiration dates on their products. The dates are voluntarily applied by manufacturers and are primarily based on quality testing rather than federal safety standards. for flavor, not your medical safety.
The Great Grocery Deception
I remember standing in my kitchen several years ago, aggressively throwing away an entire bag of expensive spinach and two unopened blocks of cheddar cheese. The little black stamp on the plastic said yesterday was the final day they were good. I felt an incredible amount of guilt watching my grocery budget go straight into the trash can. I honestly believed that eating something exactly twenty-four hours after the printed stamp would instantly make my children incredibly sick.
This is a fear nearly every household shares. We have been conditioned to look at our food through the lens of a factory printing machine. But human beings survived for thousands of years without digital inkjet stamps telling us when a potato was bad. We completely lost trust in our own physical senses.
The system of printing dates on packaging did not start as a safety measure. It actually started as an inventory control system for grocery store clerks in the mid-twentieth century. Store managers needed a simple, fast way to know which cans of soup to rotate to the front of the shelf and which ones to discount. Over time, consumers noticed these hidden codes and demanded to know what they meant. The industry responded by adding consumer-facing dates, but they never created a unified, scientifically backed standard for what those dates actually represent.
Today, a cracker company might stamp a box with a date that is six months out purely because they know the cracker loses five percent of its crunchiness after that point. The cracker is perfectly safe to eat for another two years. Yet, millions of boxes are thrown away because consumers misinterpret “peak freshness” as “dangerously expired.” Understanding the exact terminology used by food producers will instantly save you hundreds of dollars.
Decoding the Industry Language
Because there is no federal mandate, manufacturers use whatever phrasing they prefer. This chaotic system forces consumers to guess the true intention behind the label. Here is the strict definition of what those confusing phrases actually mean when you see them in the supermarket.
- Best If Used By (or Best Before): This is an indicator of maximum quality. The company is promising that their product will have the absolute best flavor, brightest color, and perfect texture if consumed before this specific day. After this day, the food does not suddenly become toxic. The chips might be slightly less crisp, or the color of the canned fruit might fade slightly. It is a flavor guarantee, not a health warning.
- Sell By: This phrase is not meant for you at all. This is a direct message from the manufacturer to the grocery store manager. It tells the store how long they should keep the item displayed on the retail shelf for inventory tracking. If you buy milk on the exact “Sell By” date, it is still perfectly fresh and safe to drink for a week or more at home, assuming your refrigerator is running at the correct cold temperature.
- Use By: This is the only phrase that leans toward safety, though it is still technically an estimate. You will find this primarily on highly perishable goods like fresh poultry, raw ground beef, and bagged salad greens. Once this date passes, the likelihood of dangerous bacterial growth increases significantly. This is the one date you should actively respect.
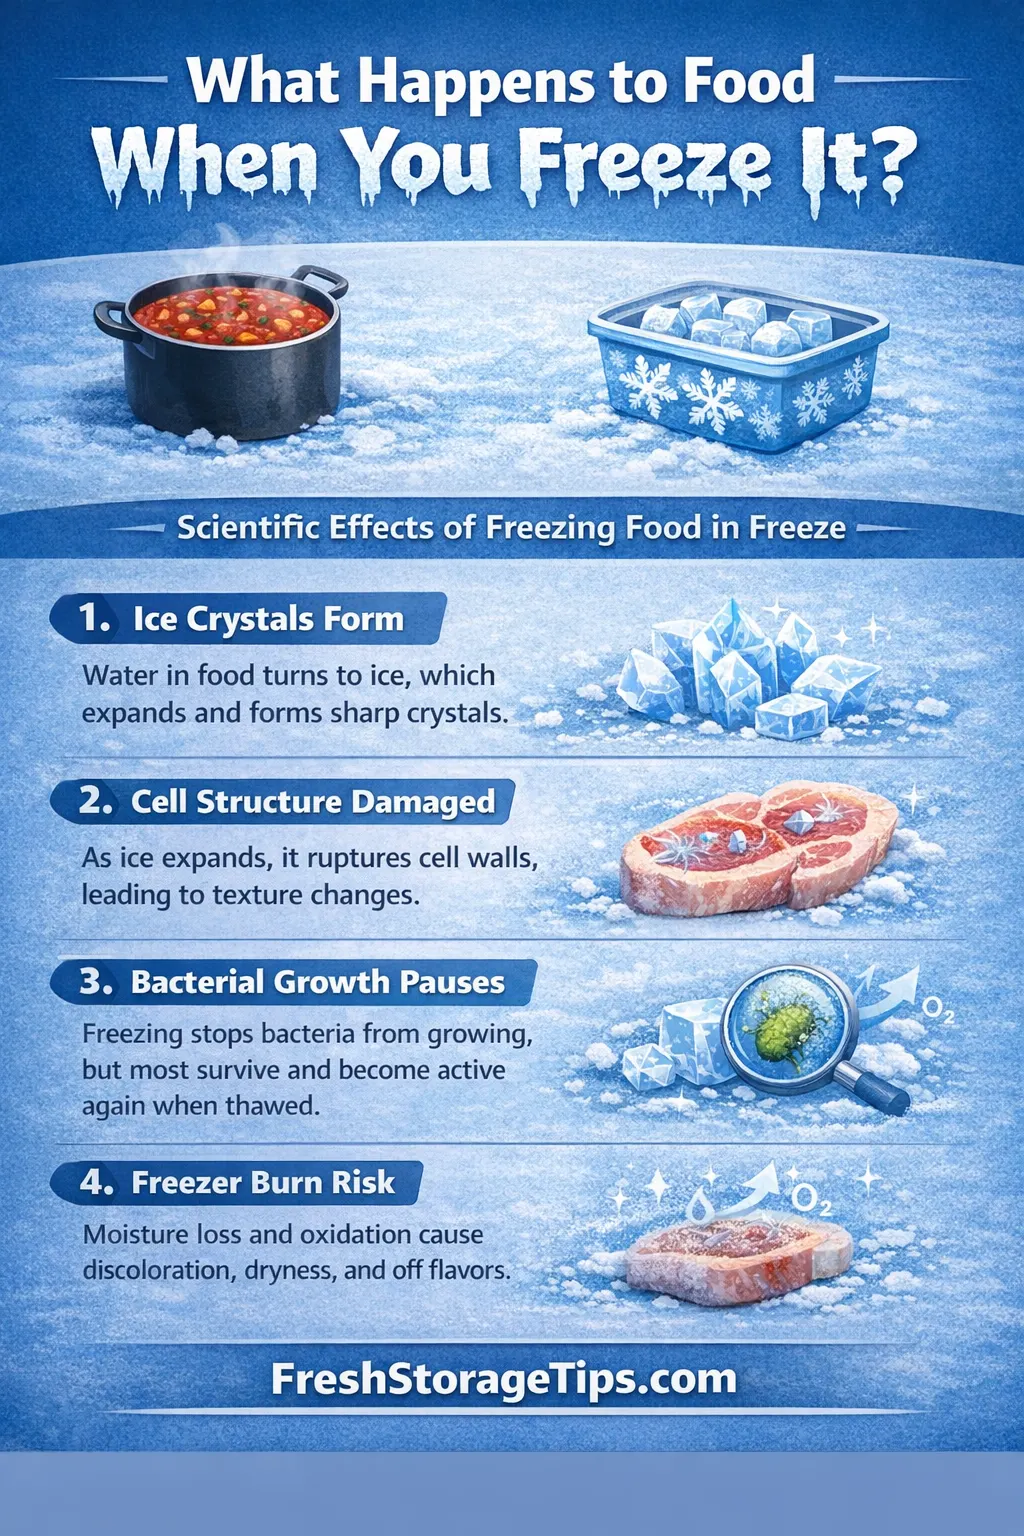
- Freeze By: This stamp acts as a strict deadline to move the product from your refrigerator to your freezer to completely halt the degradation process. As I detailed in my complete guide on what happens when you freeze food, dropping the temperature below zero degrees safely suspends the biological clock entirely.
Pathogenic vs. Spoilage Bacteria (The Hard Science)
To truly understand food safety, we must look at biology. The anxiety we feel about expiration dates comes from a deep misunderstanding of how bacteria actually behave. There are two entirely different categories of bacteria fighting for space on your groceries.
The first type is called spoilage bacteria. These are the microbes that cause your food to deteriorate physically. They make your milk smell incredibly sour. They turn your fresh strawberries into fuzzy, mushy puddles. They create the sticky slime on the outside of old deli meat. While spoilage bacteria are completely disgusting to look at and smell, they are rarely the organisms that cause severe foodborne illness. If you accidentally take a sip of sour milk, you will likely spit it out immediately because your body naturally recognizes the bad taste, but you will not end up in the hospital.
The second type is called pathogenic bacteria. This group includes famous dangers like Salmonella, E. coli, and Listeria. These are the microbes that actually cause dangerous food poisoning. Here is the most terrifying scientific fact regarding pathogenic bacteria: they are completely undetectable. They do not change the smell of the food. They do not change the color of the meat. They do not alter the texture. A piece of chicken severely infected with Salmonella looks and smells exactly the same as a perfectly safe piece of chicken.
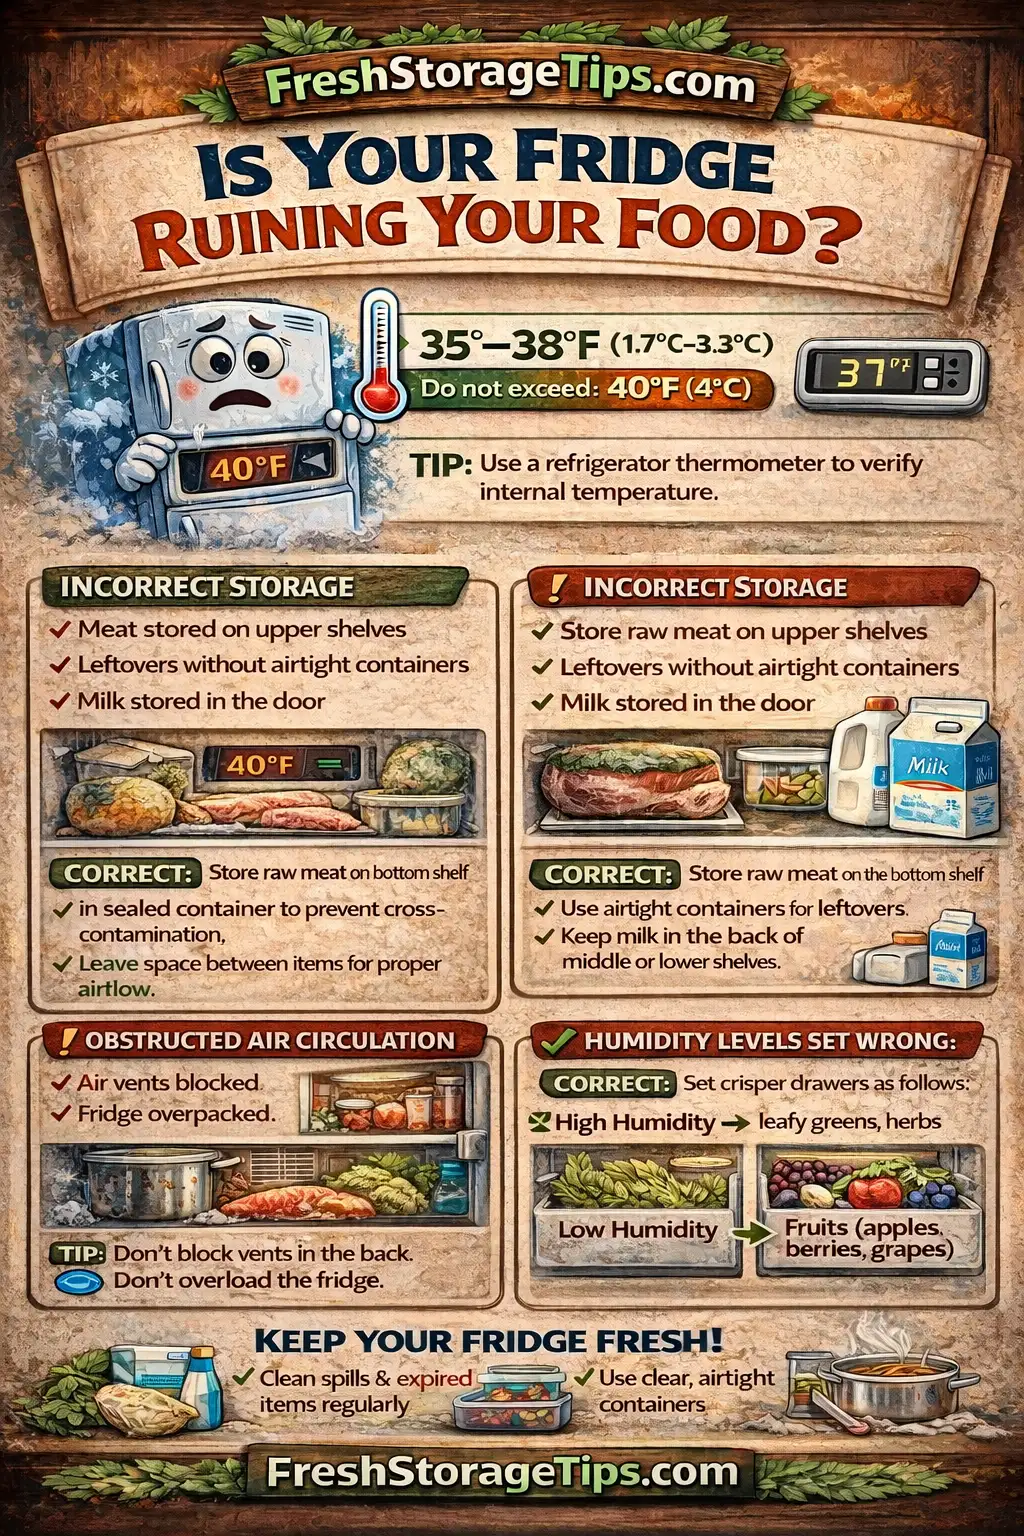
This biological reality completely changes how we should view printed dates. A date stamp cannot predict if pathogenic bacteria accidentally contaminated your lettuce at the farming facility. The safety of your food relies entirely on how you handle it in your own kitchen. If you constantly wonder why food spoils fast in the fridge, it is usually because the internal ambient temperature is too warm, which allows both types of invisible bacteria to multiply at an incredibly rapid pace regardless of what the printed package claims.
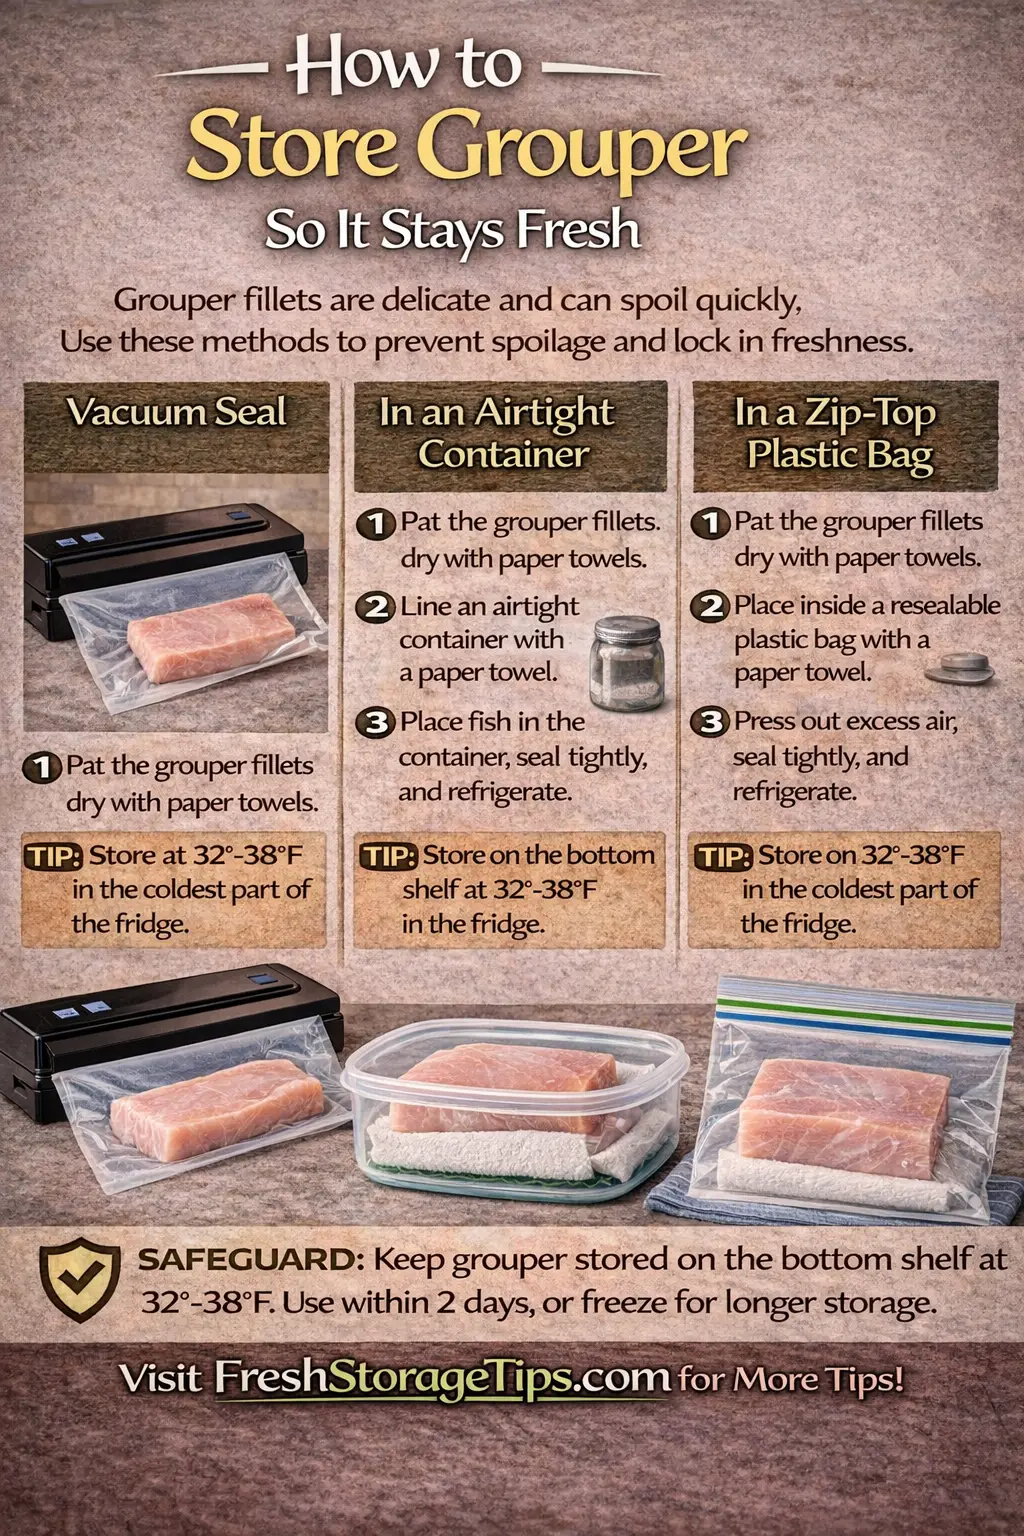
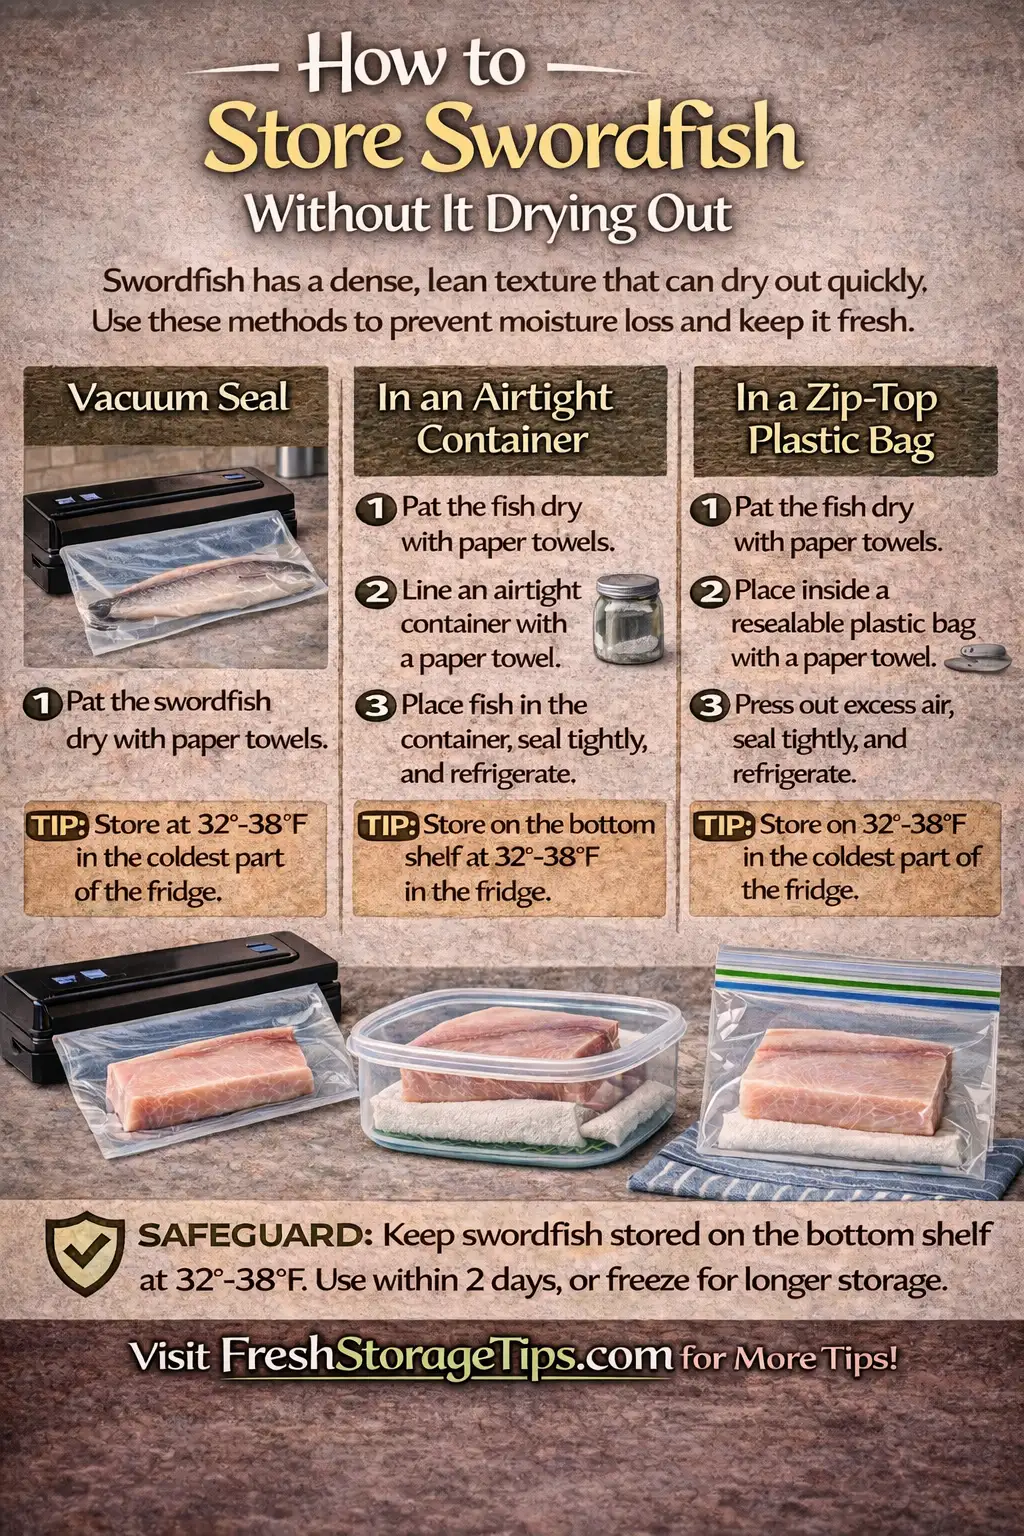
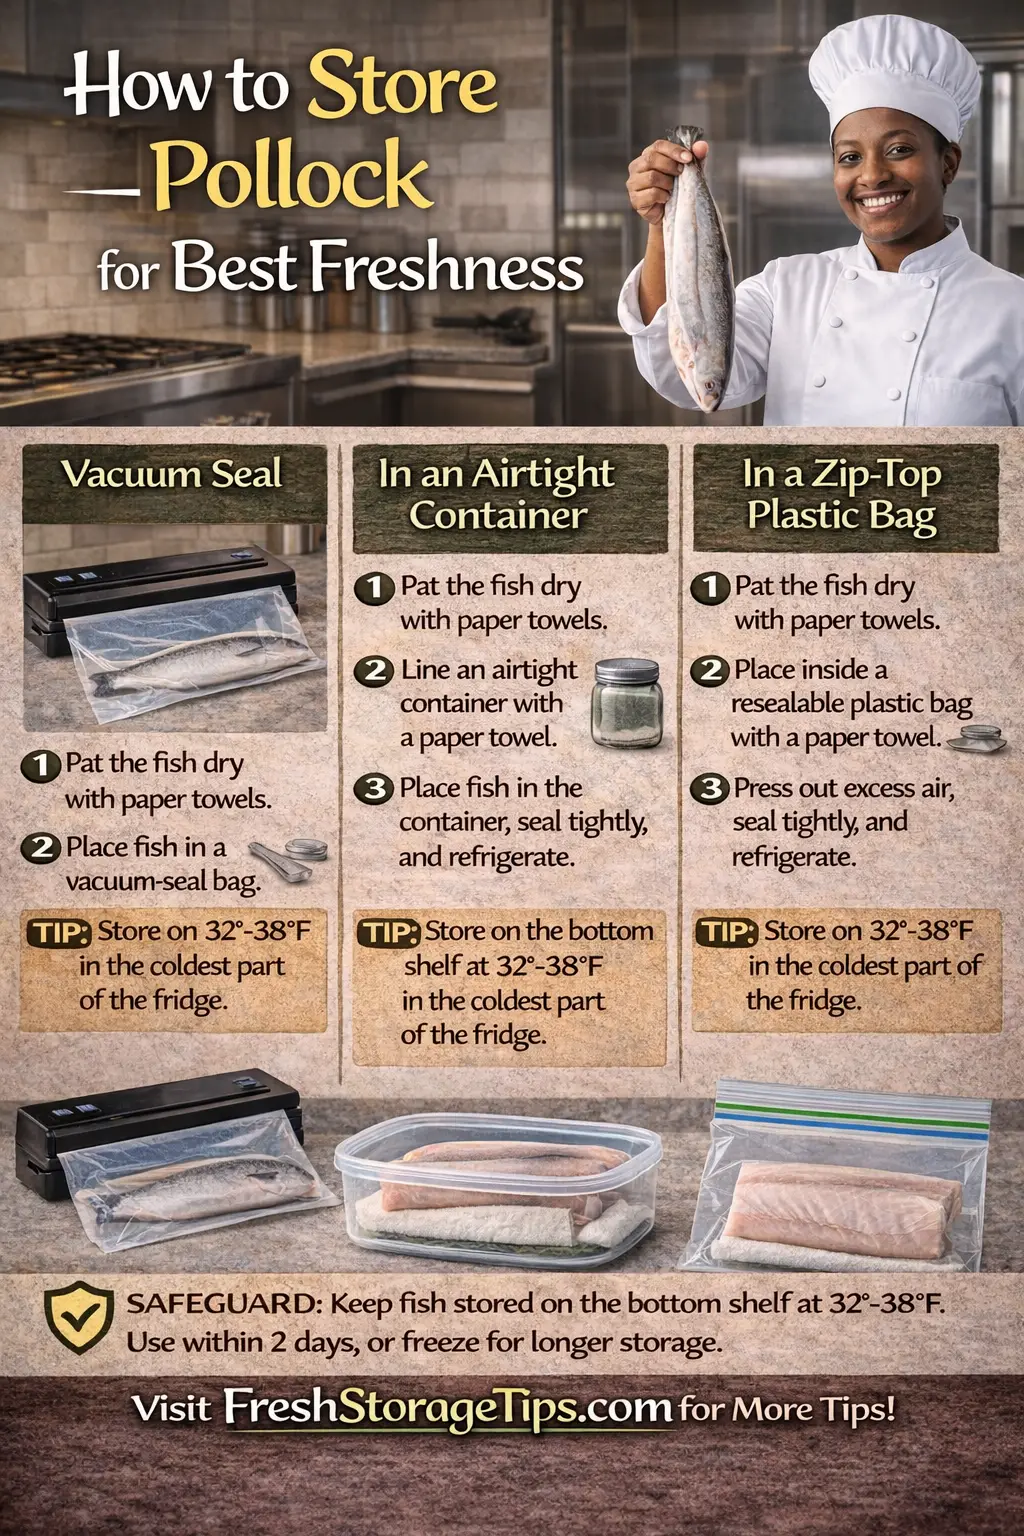
The Seafood Exception: Strict Rules Apply
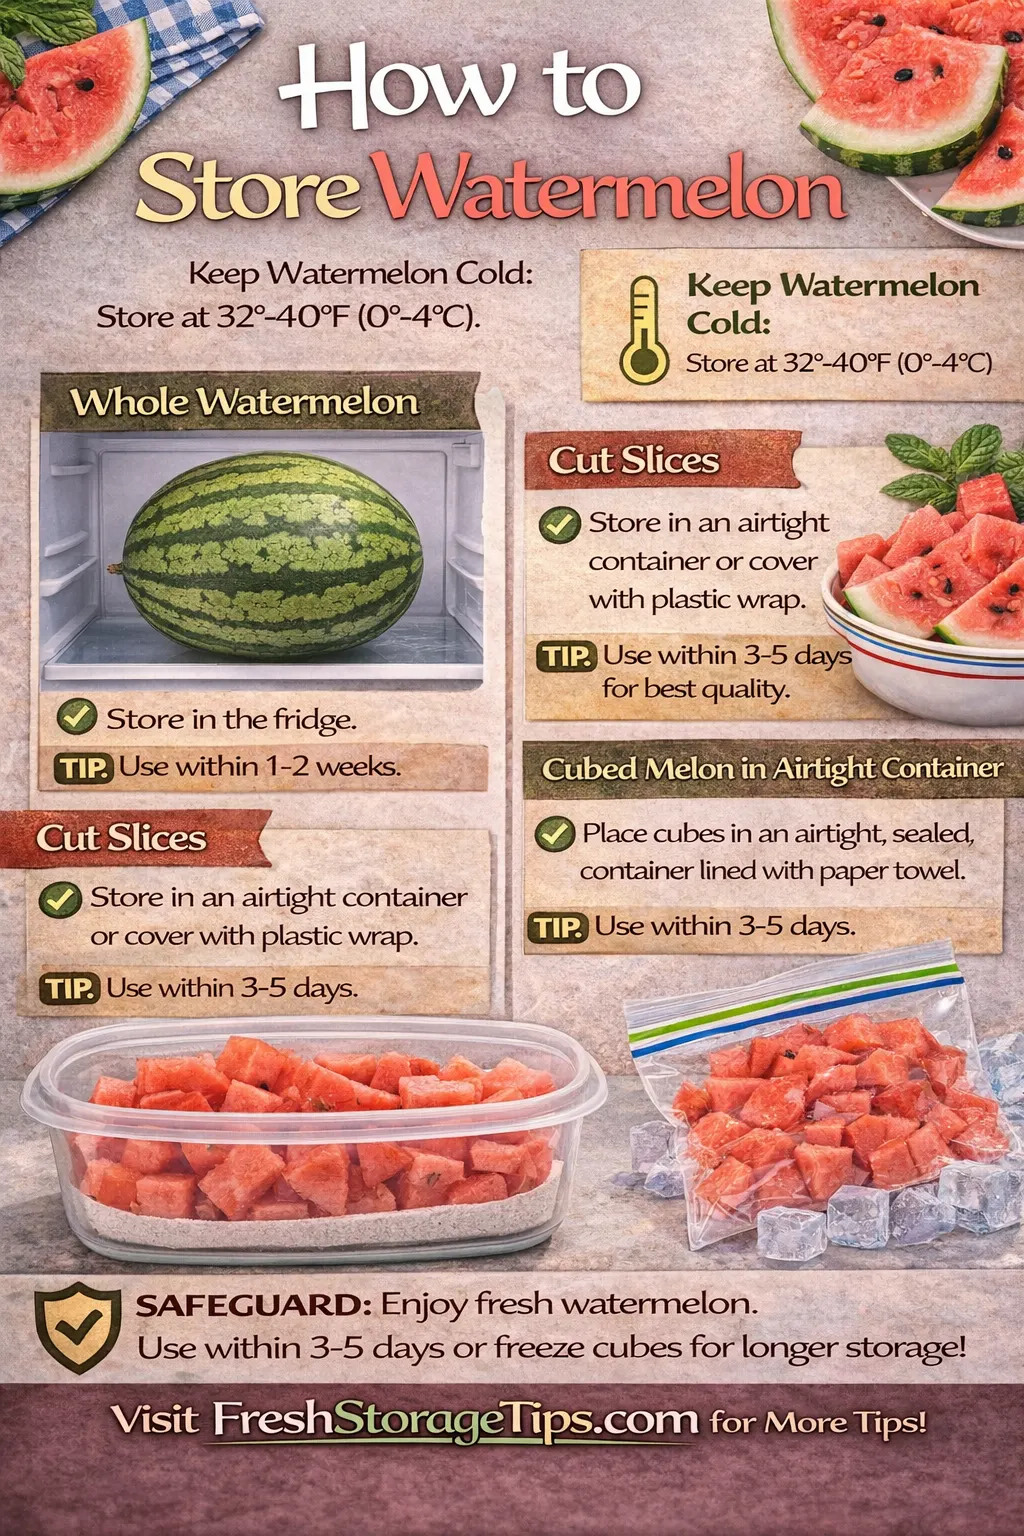
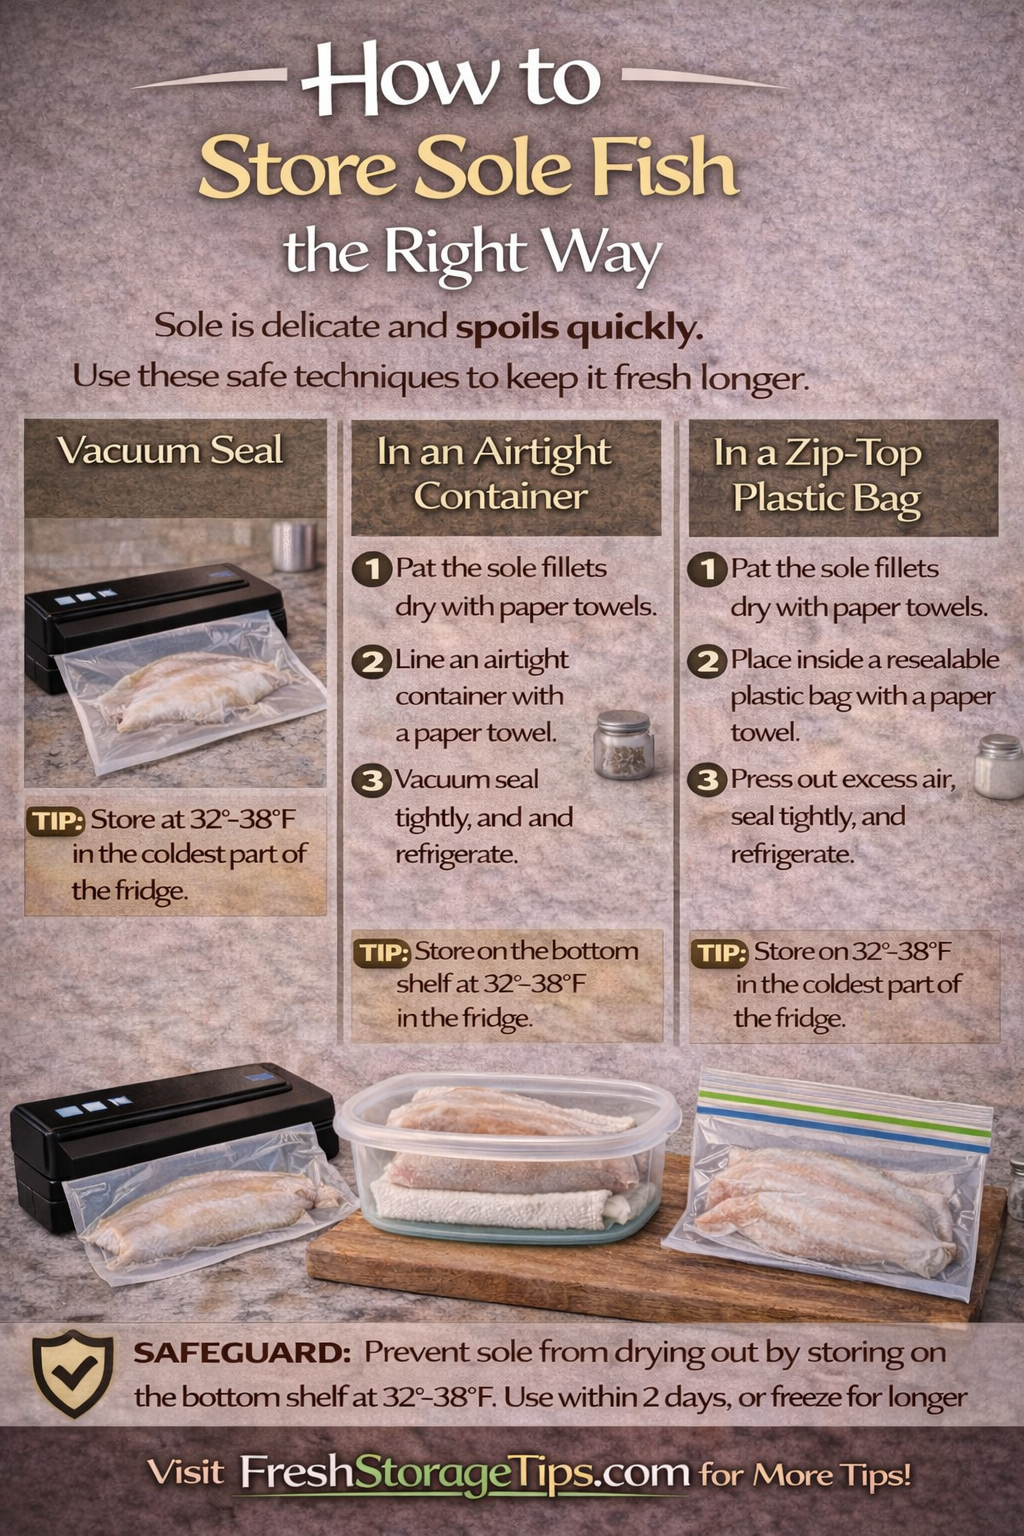
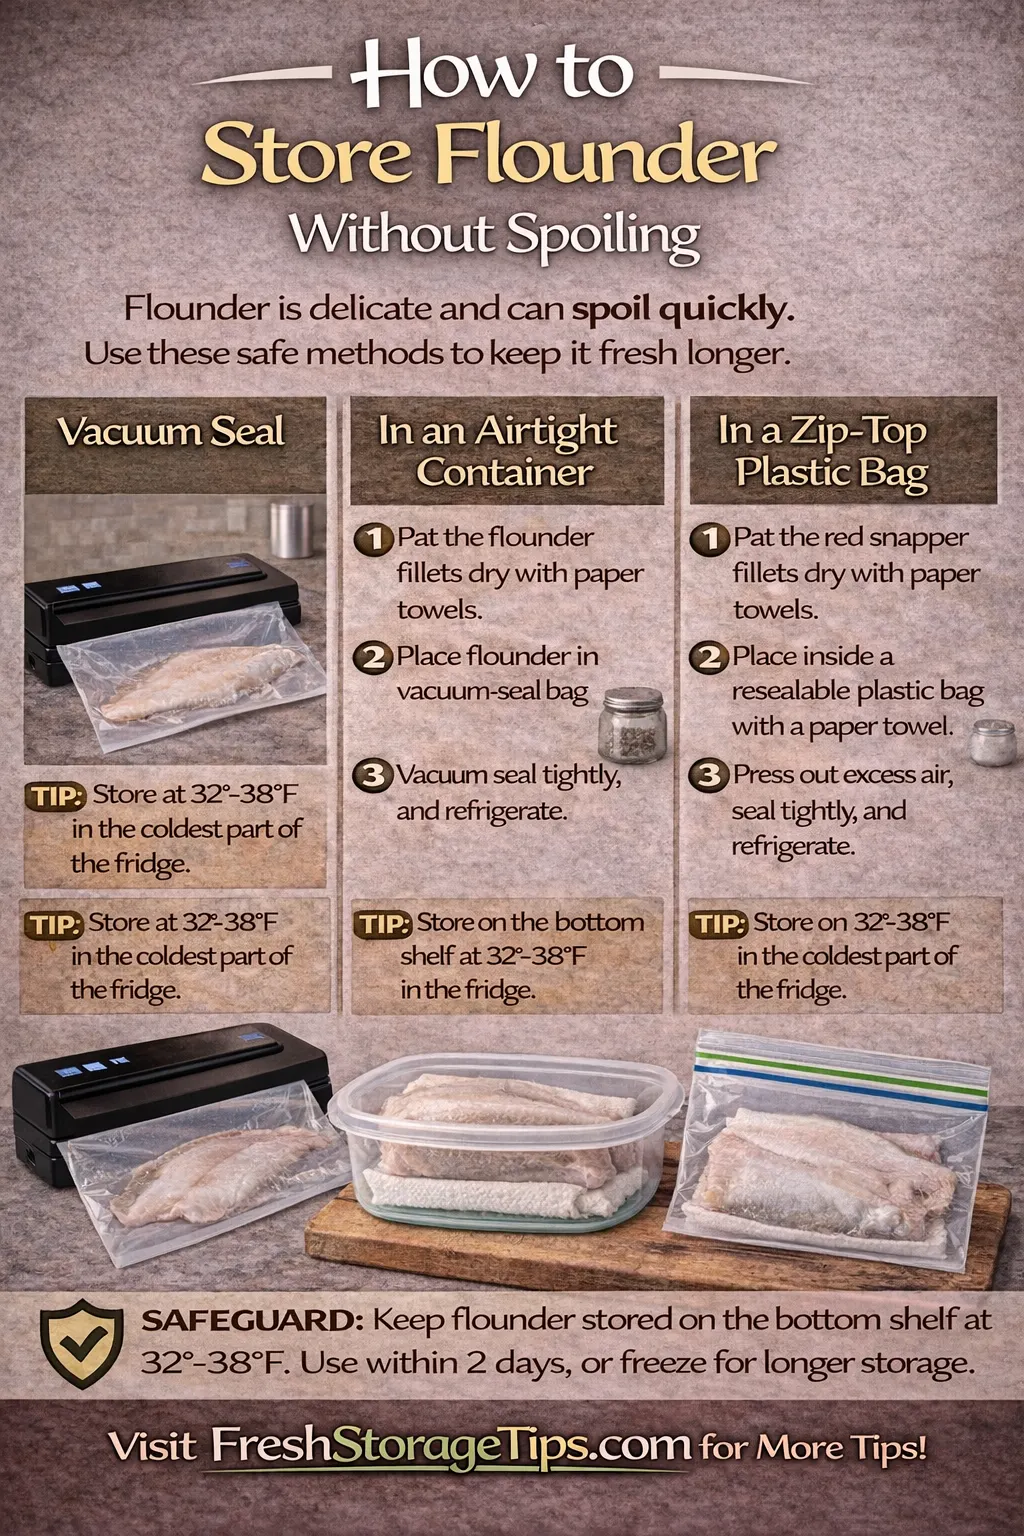
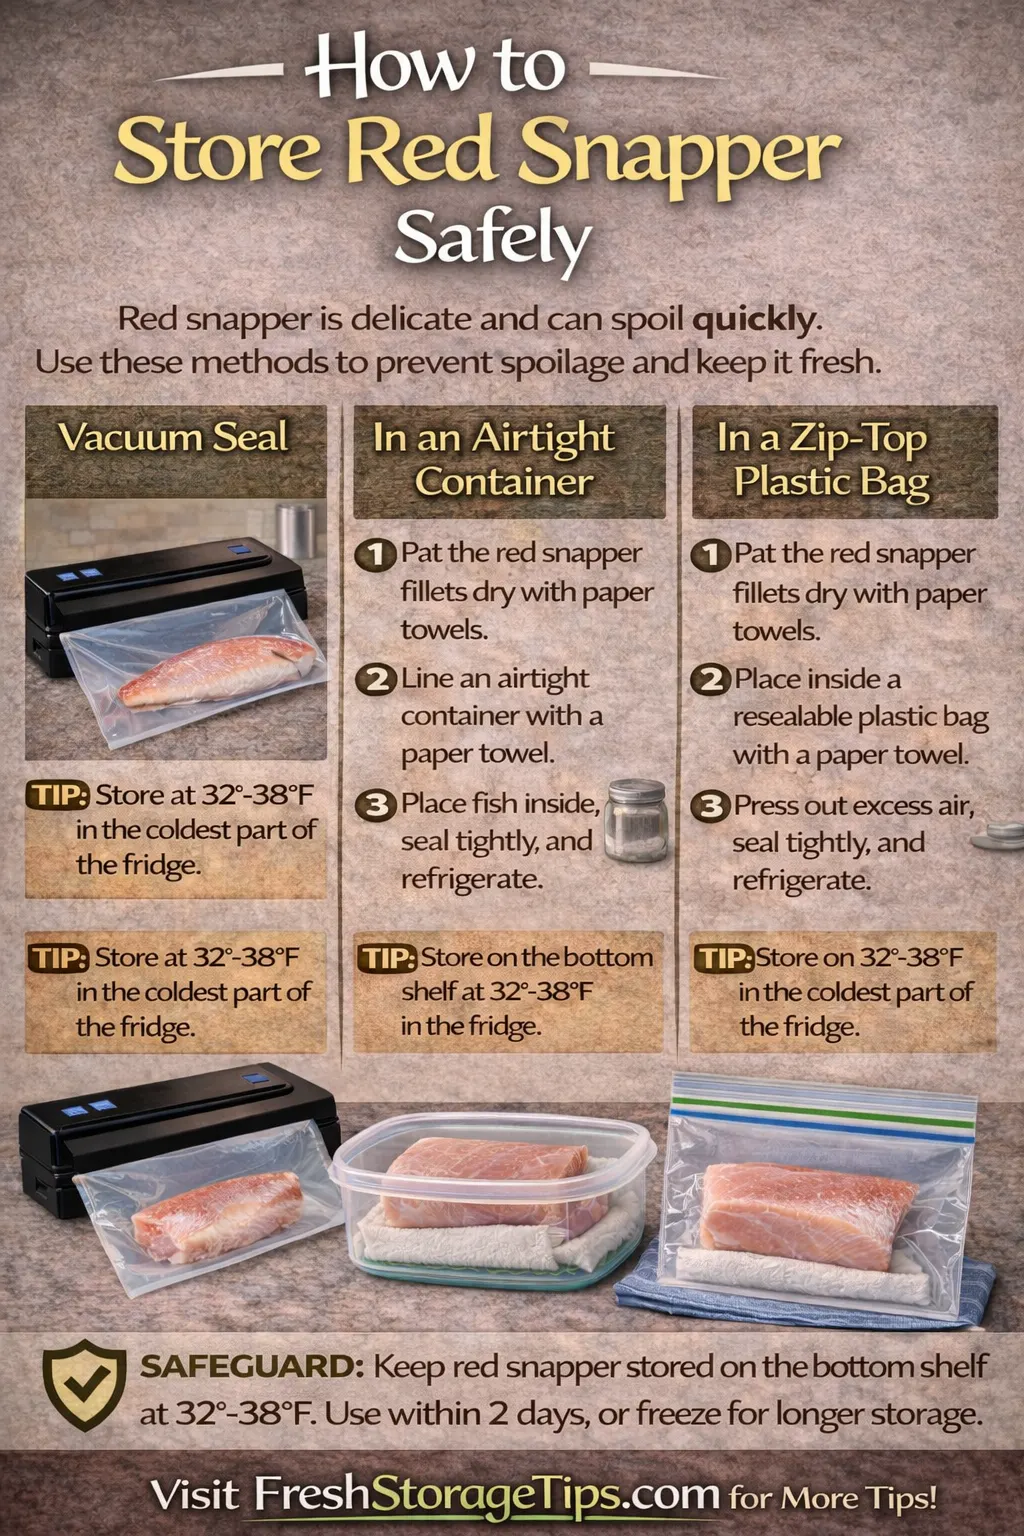
While I advocate for ignoring the “Best By” dates on dry cereal and canned beans, I draw a very hard, non-negotiable line when it comes to the ocean. Fish and shellfish possess a unique cellular structure that degrades faster than almost any other protein on the planet. The high levels of unsaturated fats make them incredibly prone to rapid oxidation and aggressive bacterial colonization.
If With seafood, storage time and temperature matter more than the printed date. The actual safety window is incredibly short. The United States Department of Agriculture clearly outlines exactly how long you can store fish, noting that it should be consumed or frozen within one to two days of purchase, no matter what the package states. Your safety strategy begins at the grocery store. I always follow the expert guidelines for the safe selection and handling of fish and shellfish to ensure I am buying the freshest possible product before I even bring it home.
Once you place the seafood in your refrigerator, you must manage it perfectly. You can print out and reference this excellent downloadable FDA safety chart to keep track of the specific timelines for different aquatic species. The marine scientists at NOAA provide brilliant technical advice on how to store and handle seafood, explicitly warning that it should be kept in the absolute coldest section of your appliance, preferably sitting on a bed of crushed ice.
Cross-contamination is another massive risk. The FDA warns consumers to be highly vigilant when selecting and serving fresh and frozen seafood safely to prevent raw juices from touching fresh vegetables. And if you bypass the grocery store entirely to catch your own dinner, the Iowa DNR has created a fantastic resource detailing exactly how to approach cleaning and cooking fish out in the wild. For those who want to understand the exact microbiology, this peer-reviewed PMC research article scientifically explains how bacterial growth is halted at sub-zero temperatures, but how quickly those dangerous pathogens reactivate the moment your fish begins to thaw.
Step-by-Step: How to Test Your Food (The Sensory Method)
Instead of staring blindly at a printed number, you need to use your physical senses. Human biology evolved specifically to detect rotting food. Follow this exact process before you throw anything away:
- Examine the Packaging: Before you even open the item, look at the container. If a plastic film is bloated and puffing outward like a balloon, throw it away immediately. That gas is a direct byproduct of massive bacterial growth inside the sealed environment. Also, check cans for deep dents on the seams or heavy rust, which can allow botulism spores to enter.
- Look at the Color and Texture: Open the package and inspect the food under bright light. Has the bright red meat turned a dull, slimy gray? Is there visible green or white mold growing on the surface of the cheese or bread? Has the milk separated into weird, chunky layers? Visible structural changes indicate advanced spoilage.
- Perform the Sniff Test: Your nose is an incredibly highly tuned biological warning system. Bring the item close and smell it. Fresh food has a neutral or pleasant aroma. If the item smells sharply sour, metallic, strongly like ammonia, or simply smells “wrong,” your brain is trying to protect you. Trust the smell.
- The Tiny Taste Test: If the packaging is flat, the food looks perfectly normal, and it passes the smell test, you can take a very tiny taste (only for cooked foods, dairy, or dry goods). If a cracker tastes like stale cardboard, it is safe but low quality. If milk tastes slightly sharp, it is starting to turn. Never taste-test raw meat or old leftovers.
Applying the Rules to Common Groceries
Different categories of food require completely different approaches. You cannot treat a box of dry pasta the same way you treat a fresh chicken breast.
Canned and Dry Goods: Items like dried rice, pasta, canned beans, and unopened jars of peanut butter are practically indestructible. Assuming the packaging is completely intact and stored in a cool, dark pantry, these foods remain safe to eat for years beyond the printed date. The nutritional value might drop slightly over a decade, but they will not harm you.
Dairy and Eggs: Milk is famously resilient if properly chilled. I outlined exactly how to manage temperatures in my guide on how to store milk, emphasizing that keeping it deep inside the cold shelves easily extends its life a week past the date. Eggs are incredibly durable. In many European countries, eggs are not even refrigerated. In the US, a carton of eggs easily lasts three to five weeks in a cold refrigerator, regardless of the print date.
Raw Meat and Poultry: This is where caution is paramount. Whole cuts of beef (like a thick steak) are denser and bacteria only grow on the outside surface. However, ground meat has been processed in a machine, pushing any surface bacteria deep into the center of the meat pile. If you want to understand the exact timeline, reviewing how long ground beef lasts reveals that it only survives a day or two in the fridge before it must be cooked or frozen to remain safe.
Video Guide: Expiration Dates Explained
Stop Wasting Your Grocery Budget
This fantastic visual guide breaks down the exact differences between the labels on your favorite grocery items. Knowing these specific rules prevents you from tossing perfectly good meals into the compost bin.
Storage Tip: Pay close attention to how they discuss the “open date.” A printed date assumes the package is factory-sealed. The moment you open a jar of pasta sauce, the printed date becomes completely meaningless. You have introduced oxygen and airborne mold spores into the jar, meaning it must be consumed within a few days regardless of what the lid says.
Interactive Food Lifespan Chart
Filter by the type of grocery. This chart shows the true lifespan of unopened foods stored correctly, far beyond the arbitrary printed numbers.
| Grocery Item | Storage Condition | True Lifespan Past Date | Sensory Check |
|---|---|---|---|
| Dry Pasta | Dark Pantry | 1 – 2 Years | Check for pantry bugs; otherwise always safe. |
| Canned Vegetables | Cool Cabinet | 1 Year | Discard instantly if the can is swollen or dented. |
| Fresh Eggs | Main Fridge Shelf | 3 – 4 Weeks | Float test: If it sinks, it is safe to cook. |
| Cow’s Milk | Back of Fridge | 5 – 7 Days | Smell test is highly accurate for dairy spoilage. |
| Ground Beef | Bottom Fridge Shelf | 0 Days (Strict) | Follow the Use By date closely or freeze it. |
I used to panic every single time I looked inside my refrigerator. I would find a half-empty jar of expensive pasta sauce pushed to the very back, and because the factory label only had a generic “Best Before” date printed on the glass, I had absolutely no idea when I actually opened it. I would stare at my leftover chicken, wondering if it had been sitting there for three days or six days. My lack of an organization system completely paralyzed me, and my immediate reaction was always to throw everything directly into the trash just to be safe. I was literally throwing thousands of dollars into the garbage bin every single year simply because I did not trust my own memory.
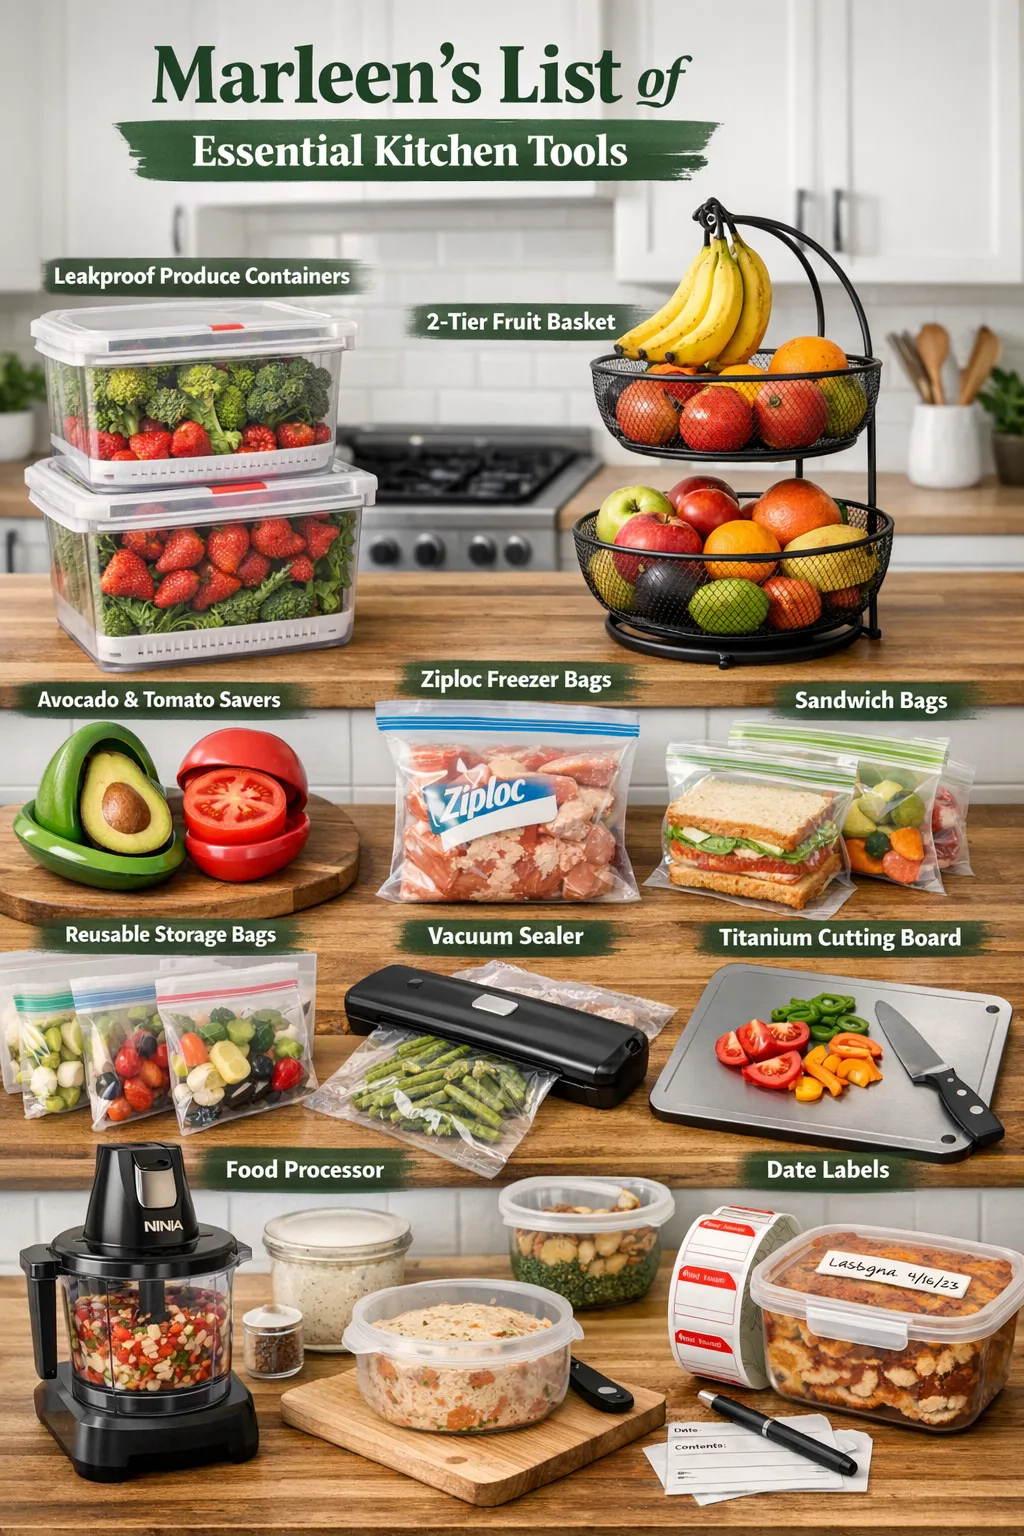
Taking complete control of your kitchen requires a massive shift in how you handle your groceries the moment they come through your front door. You must stop relying on the confusing factory stamps and start creating your own timelines. The absolute best way to achieve this is by investing in high-quality, stackable food storage containers. Moving food out of ripped cardboard boxes and flimsy plastic wrappers drastically extends its lifespan. But containers alone are not enough. You must pair them with dissolvable food labels. Writing the exact date you cooked a meal or opened a jar completely removes the dangerous guesswork. If you buy bulk raw meats, a professional vacuum sealer physically extracts the oxygen, allowing you to ignore the printed “Use By” date because the meat is safely suspended in a frozen state. Finally, a digital cooking thermometer guarantees that even if a protein is nearing its final day, you are cooking it to an internal temperature that completely destroys any lingering bacteria. These highly specific tools empower you to stop wasting money and start eating perfectly safe, delicious meals.
Digital Thermometer for Cooking
The only scientifically proven way to ensure your older meats are cooked perfectly to a safe internal temperature.
View on AmazonFood Storage Containers
Stop relying on flimsy store wrappers. These heavy-duty stackable containers keep oxygen out and lock freshness in.
View on AmazonFood Product Saver Tubs
These highly specialized bins regulate internal moisture, protecting your expensive produce far past the printed date.
View on AmazonDissolvable Labels for Food
Write your own “Opened On” dates. These brilliant labels wash completely down the sink drain with warm water.
View on AmazonFood Processor
Quickly process and preserve your vegetables the moment you bring them home before they even have a chance to wilt.
View on AmazonVacuum Sealer for Food
Physically extract the oxygen from raw meats to safely freeze them for months beyond the factory Use By deadline.
View on AmazonAs an Amazon Associate, I earn from qualifying purchases.
Sources & Transparency
This technical guide references vital food safety regulations from the FDA and the USDA regarding arbitrary date labeling conventions. Data on pathogenic bacterial activity, seafood perishability, and biological spoilage was heavily consulted via the National Oceanic and Atmospheric Administration (NOAA) and the National Institutes of Health (NIH) public safety databases.
Last updated:
Update Log
- : Published comprehensive guide decoding grocery store date labels and sensory testing methods.