| FreshStorageTips")
How to Store Bourbon (Does It Go Bad After Opening?)
You finally pour a generous glass of your favorite bourbon after a long, exhausting day. You sit back, enjoy the deep, rich notes of vanilla, toasted oak, and sweet caramel, and then place the bottle firmly back on your liquor shelf. The weeks turn into months, and eventually, that exact same bottle is still sitting there, completely ignored and half full. A sudden question pops into your head: wait… does bourbon actually go bad once it has been opened?
This is a surprisingly common question for anyone trying to maintain a proper home bar. Understanding the correct beverage storage technique for high proof spirits is absolutely critical if you want to protect your expensive liquid investments.
Unlike a delicate bottle of wine or dairy-based cream liqueurs, authentic bourbon is a heavily distilled spirit with a high alcohol content. This unique chemical structure makes it incredibly stable sitting at room temperature. However, that certainly does not mean it stays perfectly unchanged forever. Once the factory seal is broken, ambient oxygen slowly begins to interact with the liquid, gradually altering its complex flavor, aroma, and overall balance. Extreme heat, direct sunlight, and poor storage habits can speed up this negative process much faster than most people realize.
The Quick Answer: Bourbon does not spoil or become unsafe to drink after opening. However, heavy exposure to oxygen, ambient heat, and sunlight can slowly degrade its flavor over time. For the absolute best quality, store your bourbon upright, tightly sealed, in a cool, dark place. An opened bottle typically keeps its best flavor for 1 to 2 years.
Bar Quality Tip: The physical amount of empty space (headspace) in the bottle directly dictates how fast the liquid degrades. A bottle with only one inch of bourbon left at the bottom will lose its sweet, vibrant flavor much faster than a bottle that is almost completely full.
 | FreshStorageTips")
How to store bourbon after opening: keep the bottle sealed, store upright in a cool dark place, and avoid heat.
What Happens Once It Is Opened?
To truly appreciate how to protect your drink, you must understand exactly what happens the second you break the factory seal. Bourbon is essentially a highly complex mixture of water, ethanol (alcohol), and hundreds of distinct chemical flavor compounds derived directly from the newly charred oak aging barrels.
When you pull the cork out for the very first time, fresh ambient air rushes into the bottle. This air contains oxygen. Over a period of several months, this trapped oxygen actively interacts with the fragile flavor compounds suspended in the liquid. This natural chemical process is scientifically known as oxidation. Oxidation is not inherently a terrible thing; in fact, letting a fresh pour sit in a glass for ten minutes “opens it up” and often improves the initial taste. But over the long span of two years, that constant slow oxidation slowly dulls the bright, sharp notes, leaving the liquid tasting somewhat flat and overly mellow.
Additionally, alcohol is a highly volatile substance, meaning it evaporates incredibly easily at room temperature. If the cork is not pushed down tightly, the ethanol will slowly escape into the surrounding air, reducing the proof of the drink and making it taste watery over time. If you have ever looked into how to store opened whiskey, you will find these exact same principles apply across the board.
Does Bourbon Need Refrigeration?
No, you absolutely do not need to refrigerate bourbon after you open it. In fact, keeping it inside the refrigerator is generally frowned upon by serious bourbon enthusiasts.
The high 40 percent (or higher) alcohol volume creates a harsh internal environment where standard foodborne pathogens simply cannot survive. There are absolutely no perishable sugars or dairy fats that require cold preservation. The strong alcohol content means the liquid is perfectly safe sitting comfortably on your cabinet shelf indefinitely.
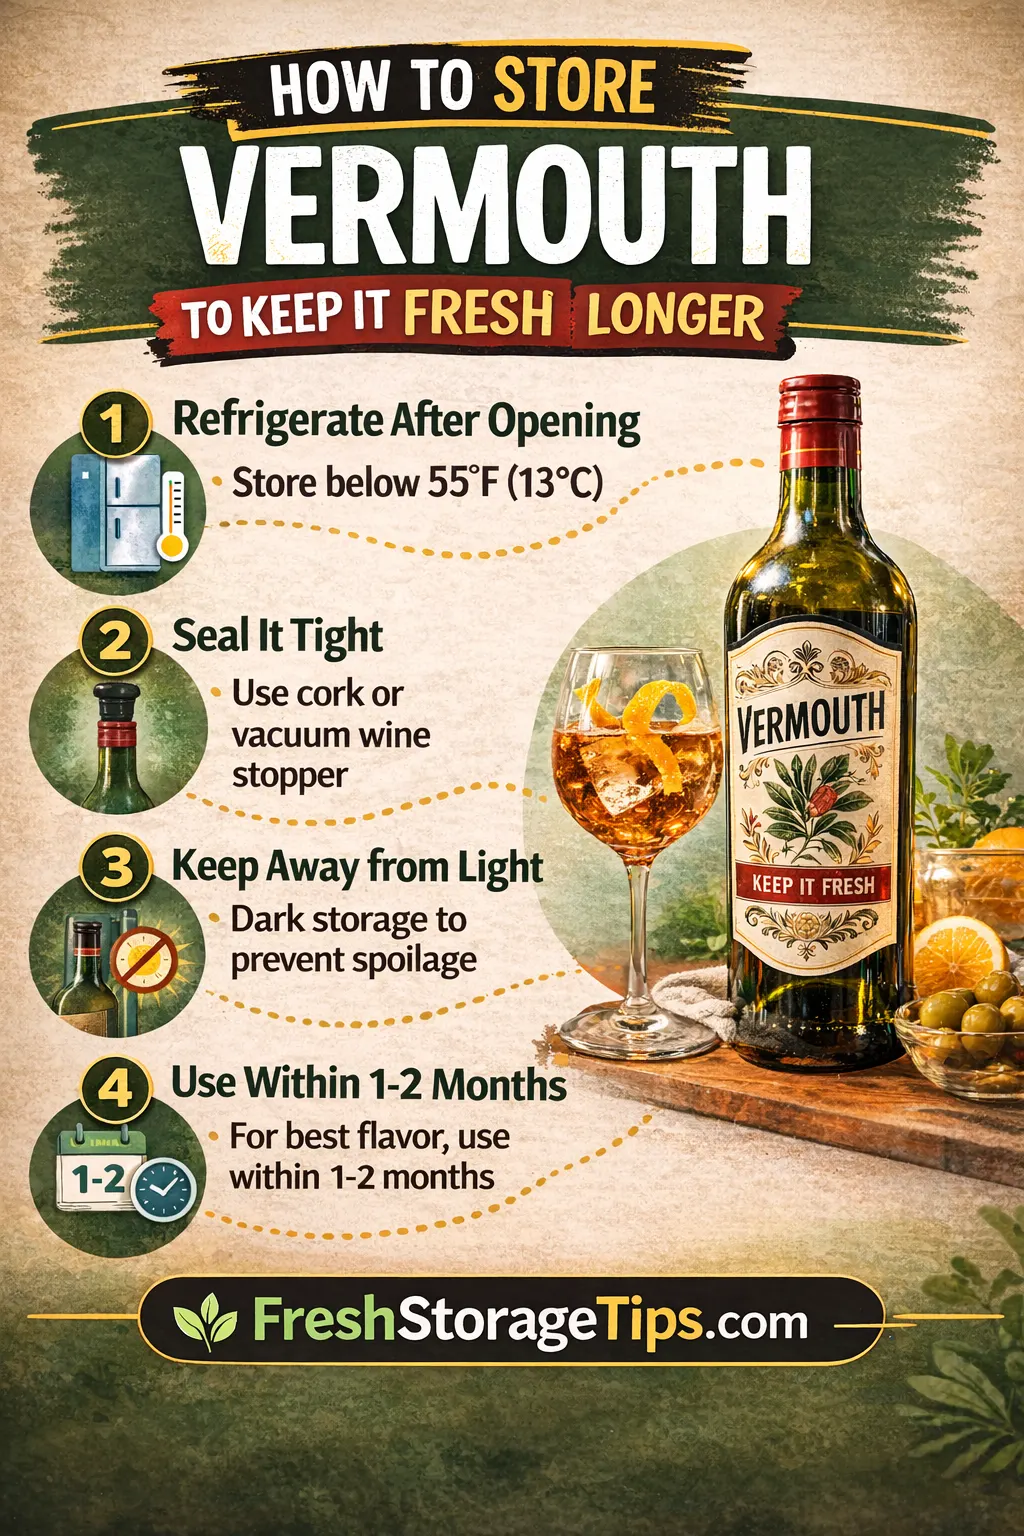
Putting it in the fridge actually causes a severe sensory problem. Cold temperatures actively mute the aromatic oils. When you pour cold bourbon, you will not be able to smell the deep vanilla, toasted oak, or sweet caramel notes. If you genuinely prefer to drink it chilled, it is much better to store the bottle at a comfortable room temperature and simply add a large, slow-melting ice cube directly to the glass right before you serve it. You only need to chill delicate, lower-proof items, which is why learning how to store vermouth requires a completely different approach.
Bourbon vs Whiskey Storage: What’s Actually Different?
At first glance, bourbon and standard whiskey seem identical when it comes to long term storage. After all, bourbon is simply a specific type of whiskey. But there are a few very subtle differences in their chemical makeup that can affect how each one behaves once the bottle is finally opened.
The Key Difference
All bourbon is whiskey, but not all whiskey is bourbon. Bourbon must follow extremely strict legal rules: it must be made primarily from at least 51% corn, it must be aged in brand new, deeply charred oak barrels, and it is typically bottled around 40% ABV or much higher.
These specific factors give bourbon its sweeter, richer flavor profile, which can react slightly differently to air exposure over time compared to a smoky Scotch.
| Storage Factor | Bourbon | Other Whiskeys (Scotch, Irish) |
|---|---|---|
| Alcohol Content (ABV) | ~40–60%+ | ~40–46% |
| Flavor Profile | Sweeter, caramel, heavy vanilla | Drier, smoky, lightly spicy |
| Oxidation Sensitivity | Slightly more noticeable flavor drop | Slightly more stable over time |
| Refrigeration Needed? | No (Never) | No (Never) |
| Storage Position | Upright only | Upright only |
What This Means for Storage
Because bourbon’s sweeter flavor compounds can make oxidation more noticeable (like vanilla and heavy caramel notes extracted from the new oak), it can sometimes lose its vibrancy slightly faster than drier whiskeys when exposed heavily to air. That certainly does not mean it spoils rapidly—it simply means the sweet notes can become flatter over time, and oxygen exposure becomes much more noticeable in low-fill bottles.
In real-world terms, the physical storage rules are exactly the same, but bourbon rewards a bit more care regarding oxygen management. If you also have bottles of Baileys Irish Cream or Kahlúa on your bar, remember that those sweet liqueurs follow completely different, much stricter rules due to their low alcohol content and added ingredients.
The Science of Oxidation and Light Strike
To truly appreciate the deep need for proper storage, we must turn to the actual science of organic degradation. While your bottle will not rot, it will definitely undergo a slow chemical breakdown if severely neglected in a hot room.
Scientific studies repeatedly emphasize the sheer importance of strict temperature control for all beverages. According to detailed agricultural research published by the Purdue University Extension, delicate wine products are typically stored optimally between 10 and 16 degrees Celsius (50 to 60 degrees Fahrenheit). Their extensive research firmly notes that ambient storage temperature strongly affects aging reactions and flavor development. While high-proof bourbon is much tougher than wine, a cool room keeps its volatile molecules stable and prevents the alcohol from expanding and increase pressure and affect the seal over time
If you allow the bottle to sit directly in bright sunlight, you drastically accelerate the breakdown of the complex flavors. The University of Georgia CAES officially advises that alcohol products should always be kept in a dark place to prevent what is known in the beverage industry as “light strike.” Ultraviolet light acts like a laser, aggressively breaking apart the sensitive organic compounds that give the drink its unique amber color and aroma. Furthermore, the UC Davis Food Safety guidelines concerning alcoholic beverage production outline exactly how heat exposure silently compromises overall product quality on a chemical level.
When you carelessly leave the cap loose, ambient oxygen sneaks in constantly. The National Institutes of Health (NIH / NCBI) published peer reviewed research confirming that oxygen exposure during storage causes distinct chemical reactions that severely impact both aroma and flavor in alcoholic beverages. This is exactly why an open bottle left unsealed will start to taste incredibly stale. Similar handling practices are clearly echoed in the Oregon State University Extension guidelines regarding flavored beverage production. Finally, as noted in resources provided by Oklahoma CareerTech regarding beverage management for the hospitality industry, keeping your bar stock tightly sealed and perfectly temperature controlled is the only professional way to guarantee consistent drink quality for your guests.
Interactive Storage Chart
This handy reference chart clearly shows exactly how long your bottle will last depending on how much liquid is left inside. The more empty space, the faster it degrades. Use the interactive buttons to filter the best method.
| Bottle Condition | Amount of Air Inside | Maximum Quality Time | Important Storage Tip |
|---|---|---|---|
| Unopened Bottle | Virtually None | Indefinite | Store upright to protect the cork from the alcohol. |
| Opened (Over Half Full) | Low to Moderate | 1 to 2 Years | Keep tightly sealed in a cool, dark cabinet. |
| Opened (Under a Third Full) | Very High | 6 to 12 Months | Transfer liquid to a smaller sample bottle quickly. |
Signs Your Bottle Has Gone Flat
Because the drink does not contain any perishable ingredients, it will not spoil in a way that causes severe food poisoning. You won’t get sick from drinking a ten year old open bottle. However, the overall quality will drop so significantly low that it will completely lose its unique appeal. You must know how to identify this drop off.
You should reconsider serving a bottle to guests if you notice any of the following distinct changes:
- 👀 Faded Aroma: Fresh bourbon smells intensely of rich oak, deep vanilla, and sweet corn. If you uncork it and smell practically nothing, the volatile oils have completely evaporated or oxidized.
- ⚠️ A Flat, Watery Taste: Pour a tiny sip into a tasting glass. It should taste incredibly complex and robust. If it tastes flat, excessively mellow, or weirdly watery without any sharp complexity, the oxidation process has ruined it.
- ⚠️ A Crumbling Cork: While this does not mean the liquid is totally ruined immediately, if you try to open the bottle and the cork shatters into dry dust, it means the airtight seal failed a long time ago. The liquid inside has likely been exposed to heavy oxygen for months.
Video Guide: Preserving Your Collection
See the Science in Action
If you want a clear visual breakdown of exactly how light, trapped oxygen, and temperature affect your expensive collection, watch this highly helpful overview. The host explains the exact methods serious collectors use to keep their open bottles tasting perfectly fresh.
Storage Tip: Pay very close attention to how they handle decanting. Moving the last quarter of a bottle into a much smaller glass container is the absolute best trick for stopping oxidation instantly.
Step-by-Step Storage Guide
We all absolutely hate seeing expensive purchases lose their value. To ensure you get the absolute most out of every single pour and keep your bottles tasting perfectly smooth for years, I have created a highly practical checklist. Following these steps guarantees maximum longevity.
- Step 1: Store the Bottle Upright. Unlike wine, which must be stored horizontally on its side to keep the cork wet, bourbon must stand straight up. The high proof alcohol will slowly dissolve and can gradually degrade the cork over time if they remain in constant physical contact.
- Step 2: Seal Tightly. Push the cork back in firmly or screw the factory cap back on as tightly as physically possible after every single pour. This firmly prevents ambient oxygen from constantly entering the bottle and oxidizing the delicate flavors.
- Step 3: Choose a Dark Location. Store the sealed bottle safely inside a dark pantry or a closed liquor cabinet. Keep it far away from bright windows, as UV rays destroy the sensitive flavor compounds rapidly.
- Step 4: Control the Temperature. Ensure your chosen storage area stays consistently cool. Avoid placing the bottle on a shelf directly above your heating radiator, dishwasher, or on the very top shelf of a room where hot air naturally gathers.
- Step 5: Decant When Necessary. If you drink the bottle down until it is only a quarter full, the massive amount of trapped oxygen can noticeably reduce flavor quality within a few months. Buy small glass sample bottles and immediately pour the remaining liquid into them. Eliminating the empty space significantly slows down oxidation.
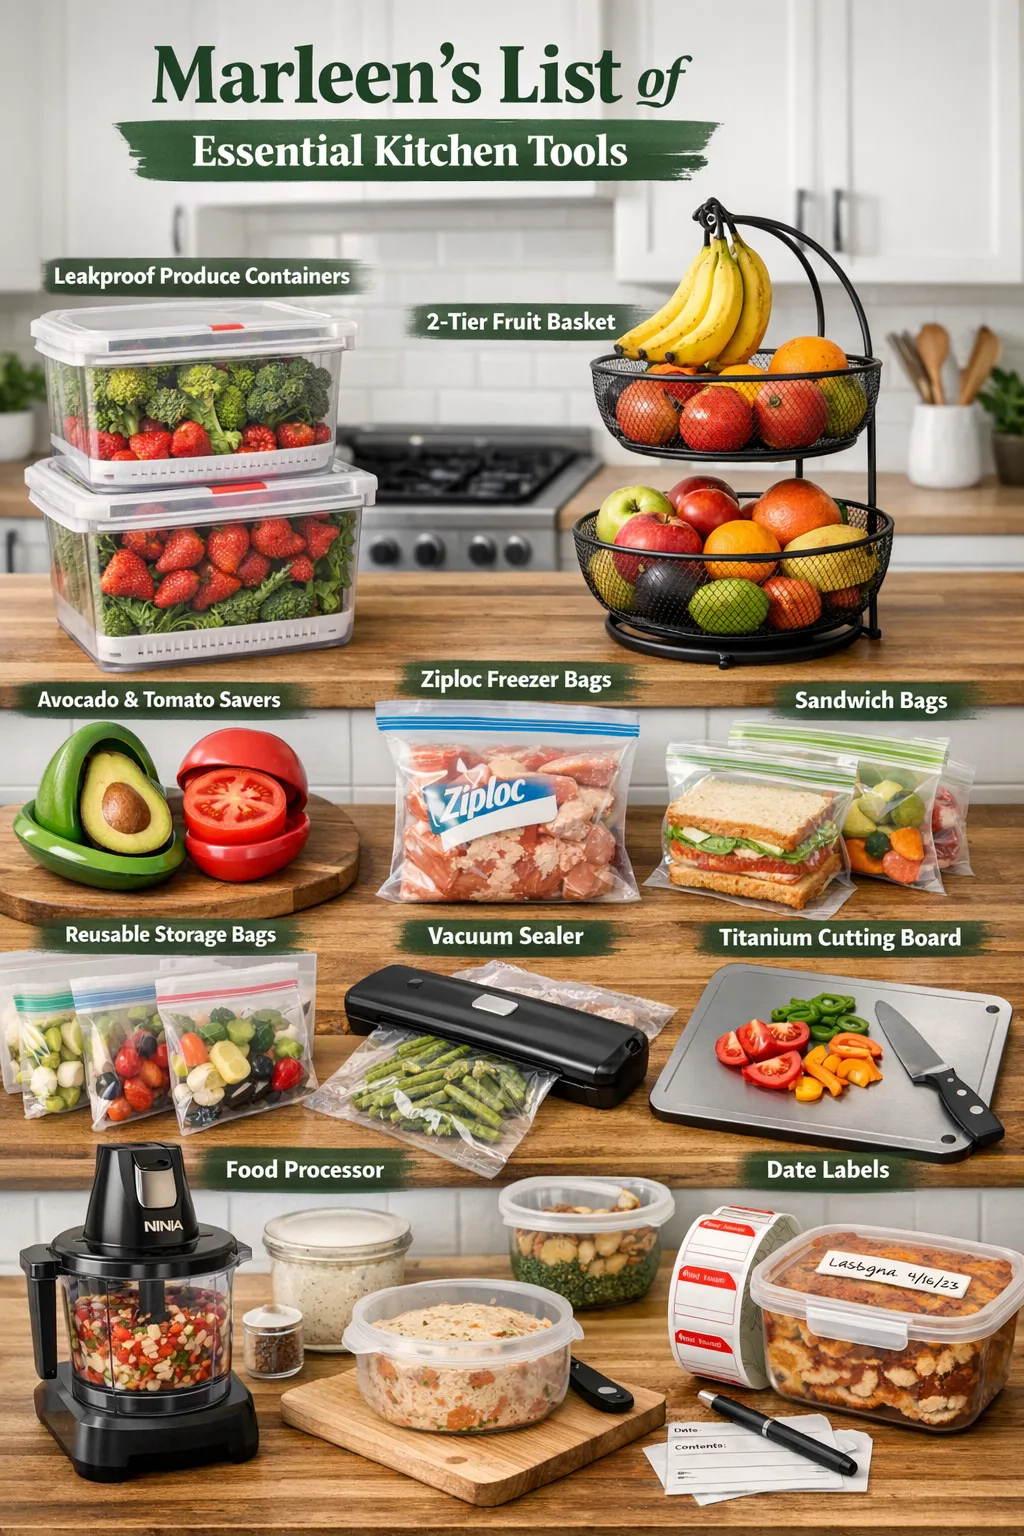
Storing liquids, fresh ingredients, and bulk foods properly requires a bit of thoughtful precision and planning. Over the years of running my own busy kitchen, hosting countless family dinners, and mixing late night drinks for friends, I have meticulously tested dozens of storage methods. I quickly realized that having the correct, high quality equipment changes absolutely everything. It is not just about keeping your food safe from harmful bacteria; it is about deeply respecting the expensive ingredients you purchase and making sure they retain their absolute best flavor until the very last drop or bite.
When dealing with highly sensitive items like premium spirits, delicate fresh herbs, or organic produce, managing the kitchen environment is your top priority. You need to control the internal temperature, minimize destructive oxygen exposure, and accurately keep track of time. For example, knowing exactly how warm your pantry gets during the summer is incredibly critical. You would be shocked to learn how many home cabinets reach temperatures that cause rapid spoilage. Investing in a highly reliable best refrigerator thermometer or ambient digital cooking thermometer ensures that your delicate bottles, fresh meats, and daily dairy are sitting securely in the optimal safe zone. This simple knowledge extends their shelf life significantly and prevents frustrating, unnecessary waste.
Beyond basic temperature control, managing direct air exposure is how you truly win the daily battle against food waste. Investing in a high quality vacuum sealer allows you to actively pull the destructive oxygen away from your ingredients. This completely locks in freshness for months longer than standard, flimsy plastic baggies. For daily use, I constantly rely on sturdy, airtight food storage containers and dedicated food product saver tubs. These hard sided bins effectively prevent delicate items from being crushed and feature heavy duty silicone seals that lock out humidity and strong, cross contaminating odors from the rest of the busy kitchen.
Finally, visual organization is the ultimate glue that holds a highly functional kitchen together. If you cannot easily remember when you opened a jar of syrup, popped a cork, or froze a large batch of soup, you are highly likely to throw it away out of an abundance of caution. Using specialized dissolvable labels has completely streamlined my entire pantry and freezer system. You can write the exact date directly on your bottles and containers, and when you are finally done, the label washes away completely under warm water without leaving any sticky, frustrating adhesive residue behind. Pair these smart, effective storage habits with a strong food processor for prepping bulk ingredients quickly, and you will quickly find that managing your kitchen inventory becomes a highly efficient, stress free routine that saves you an incredible amount of money every single month.
Vacuum Sealer for food
The absolute ultimate tool for pulling oxygen away from your ingredients to stop premature spoilage.
View on AmazonDigital Thermometer for cooking
Ensure your pantry and your cooked meals are hitting the exact perfect temperatures safely.
View on AmazonFood Storage Containers
High quality, highly durable bins that stack neatly and keep out damaging humidity and strong odors.
View on AmazonDissolvable Labels for food
Track bottle opening dates perfectly. They wash off easily under warm water with zero sticky residue left over.
View on AmazonFood Product Saver Tubs
Specialized hard sided tubs specifically designed to keep your most delicate produce fresh and crisp.
View on AmazonFood Processor
Prep large batches of ingredients incredibly quickly before sealing and storing them for later use.
View on AmazonAs an Amazon Associate, I earn from qualifying purchases at no extra cost to you. Thank you for supporting the site!
Frequently Asked Questions
Does opened bourbon go bad if not refrigerated?
No. Bourbon contains a high volume of alcohol which acts as a permanent preservative. It will never spoil or grow dangerous bacteria at room temperature. Refrigeration is entirely unnecessary and mutes the flavor.
How long is an open bottle of bourbon good for?
An opened bottle that is mostly full will retain its absolute best flavor for 1 to 2 years. If the bottle is less than half full, the increased oxygen will rapidly degrade the sweet vanilla notes within 6 to 12 months.
Should you store bourbon on its side like wine?
Absolutely not. Storing high-proof spirits on their side causes the strong alcohol to rapidly eat away at the cork, slowly destroying the seal and ruining the flavor of the drink. Always store it strictly upright.
Why does my old open bourbon taste flat?
The empty space inside the bottle is filled with oxygen. Over a long period of time, this oxygen chemically reacts with the sweeter flavor compounds in the liquid, causing the vibrant aromas to fade and leaving behind a remarkably dull taste.
Sources & Transparency
This comprehensive guide references scientific alcohol storage guidelines provided by the Purdue University Extension and the National Institutes of Health. Additional detailed data on proper beverage handling, commercial production, and consumer safety was consulted via UC Davis Food Safety and the Oregon State University Extension.
Bourbon is technically a whiskey — the storage rules are almost identical once the bottle is opened. Rum is the closest cousin to bourbon in the spirits world — same oxidation rules, similar shelf life. Tequila fans often wonder the same things as bourbon drinkers — here’s how they compare.
Last updated:
 | FreshStorageTips")
 | FreshStorageTips")
 – Keep That Coffee Kick Fresh for Years | FreshStorageTips")
 – Keep That Coffee Kick Fresh for Years | FreshStorageTips")

 | FreshStorageTips")

 | FreshStorageTips")
")