

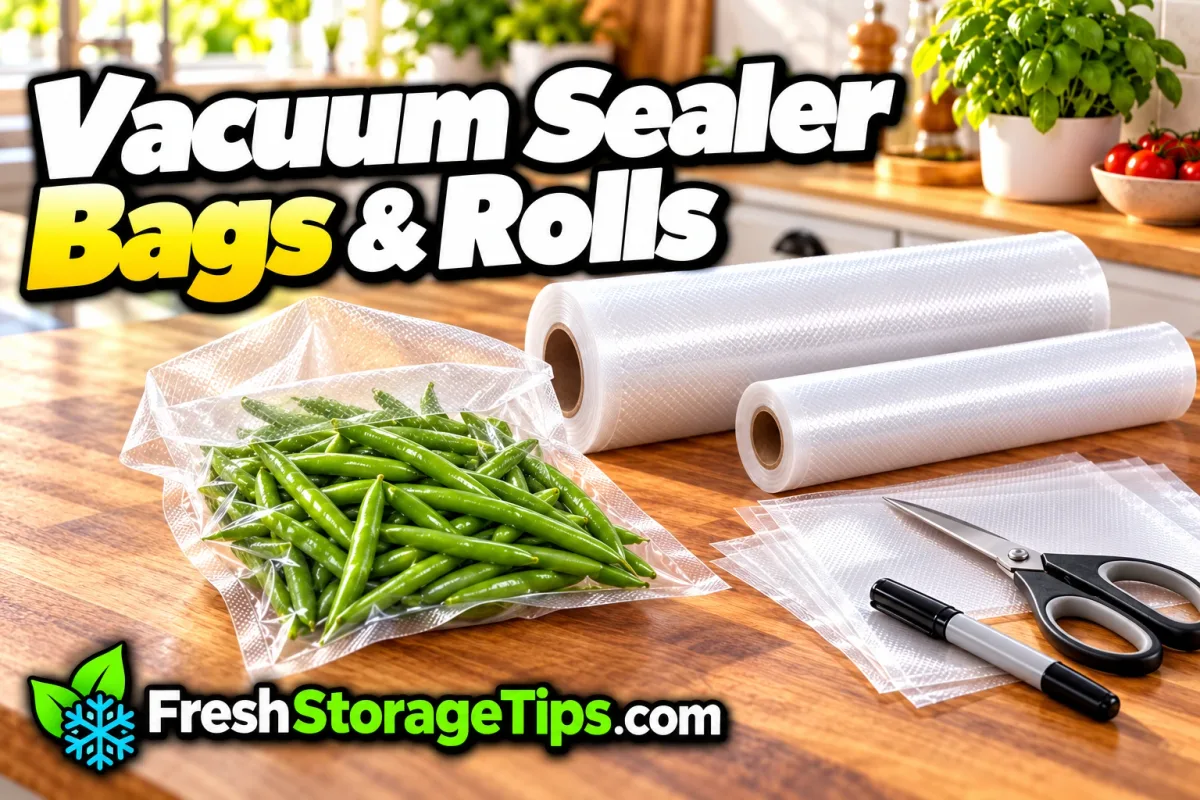
Start with your machine, not the bag. A regular suction sealer needs textured bags or rolls (the texture lets the air out). A chamber sealer uses smooth pouches, and according to Anova textured bags usually work in it too. Then pick the format: rolls to cut any length, pre-cut bags for speed, or reusable zip bags if you use a small pump system.
First, Which Machine Do You Have?
This is where most bag mix-ups start. Anova, which makes both kinds of sealers, explains that bags for suction (edge) sealers have a built-in texture that channels the air out, while chamber pouches are “completely clear and smooth.” And the key rule: “chamber sealer pouches are not compatible with edge sealers.” The other way around usually works: Anova says textured bags can go in a chamber sealer. Your machine’s manual has the final word.
Not sure what a chamber sealer is? Here’s how a chamber vacuum sealer works, in five steps.
Which Bag Goes With Which Machine
| Bag type | Suction | Chamber | Handheld pump |
|---|---|---|---|
| Textured rolls | ✓ | ✓ | ✗ |
| Textured pre-cut bags | ✓ | ✓ | ✗ |
| Smooth chamber pouches | ✗ | ✓ | ✗ |
| Zip bags with a valve | ✗ | ✗ | Only the bags its maker lists |
This is the general picture, not a promise for every model. Check your sealer’s manual and the bag listing: chamber machines and pump systems can differ, and some bags say which machines they’re made for, like the rolls we link to below: “Suitable for all suction vacuum heat sealing machines.”
Rolls or Pre-Cut Bags?
Rolls are the flexible choice. You cut exactly the length you need, so one long roll handles a single burger patty and a whole rack of ribs. If your sealer has a built-in cutter and roll storage, rolls are hardly any extra work.
Pre-cut bags are the quick choice. One side is open, three are sealed, so you fill, seal and you’re done. They’re handy for standard portions like a quart of berries or a gallon of chicken thighs, but you can’t make them longer.
My take: if you seal different things every week, start with rolls. If you always seal the same portions, pre-cut bags save a step.
How to Make a Bag From a Roll
- Measure. Cut enough roll for the food, plus 3 extra inches. That’s FoodSaver’s instruction.
- Seal one end first. Put one open end across the seal bar and seal it. Now you have a bag with one open side.
- Fill it. Leave at least 3 inches of empty bag between the food and the open end. FoodSaver’s manual says this gives the bag room “to cinch tightly against the food.”
- Keep the edge clean and dry. FoodSaver’s manual lists moisture or food along the seal as one reason a bag won’t seal; the fix is to wipe the inside top of the bag and seal again. My tip: fold the top of the bag back like a cuff while you fill it, so juice and crumbs stay away from the seal.
- Vacuum and seal. Then label it with the food and the date.
What Size Do You Need?
- Width: the bag has to fit your seal bar. Among the sealers we looked at, the Nesco takes bags up to 11.8” wide, the FoodSaver comes with an 11” roll, the heavy-duty Weston seals bags up to 15” across, and the Avid Armor chamber sealer takes pouches up to 11” x 10”.
- 8” or 11”? My rule of thumb: narrow rolls for single portions and smaller cuts, wide rolls for bigger cuts, whole chickens and flat-frozen soup.
- Extra-wide bags need a sealer with a wide bar. Measure your machine before you buy them.
Reusable Vacuum Bags
Small pump systems use their own zip bags with a valve. The Zwilling Fresh & Save bags, for example, are listed as reusable, freezer safe and dishwasher safe, and microwave safe only without the vacuum seal. They’re nice for leftovers, cheese and meal prep, but they don’t work in a regular heat sealer.
Can You Reuse Heat-Sealed Bags?
Safety first: throw away bags that held raw meat, fish, eggs, unpasteurized cheese or greasy food. Never reuse those, even after washing. For all other bags, follow the bag maker’s instructions.
Some bags can be reused, and the makers draw the line clearly. FoodSaver, answering a customer question, says bags that held fruits, vegetables, breads and dry goods can be washed by hand (“Dry completely”) and reused, but bags that held “raw meats, fish, eggs or un-pasteurized cheese should be discarded after use”, and so should bags with greasy or oily food. Its FM2100 manual adds a handy trick: leave at least one extra inch of bag for each time you plan to reuse it, because every new seal costs a strip.
Being washable doesn’t make every bag reusable, so if your bag maker says single use, keep it single use. For smooth chamber pouches, Anova says the same in short: if the pouch held something dry and non-messy, slice off the sealed edge, wipe it out and use it again.
Microwave, Boiling and Sous Vide
This depends on the bag, not the sealer. The Amazon listing of the rolls we link to says they can be used in “freezers, refrigerators, microwaves, and boiling,” but not every bag is. That listing doesn’t mention sous vide, so for sous vide pick bags that say they’re made for it. Clemson Cooperative Extension’s advice applies here: “Follow the directions that come with the vacuum packages carefully.” If the bag or its packaging doesn’t say it’s made for cooking, don’t cook in it.
The Rolls We Link To
The rolls we link to on our vacuum sealing pages, plus the labels to go with them. Check that the bag type and width fit your machine before you order. For the reusable zip-bag route, the Zwilling set is on our vacuum sealer page.
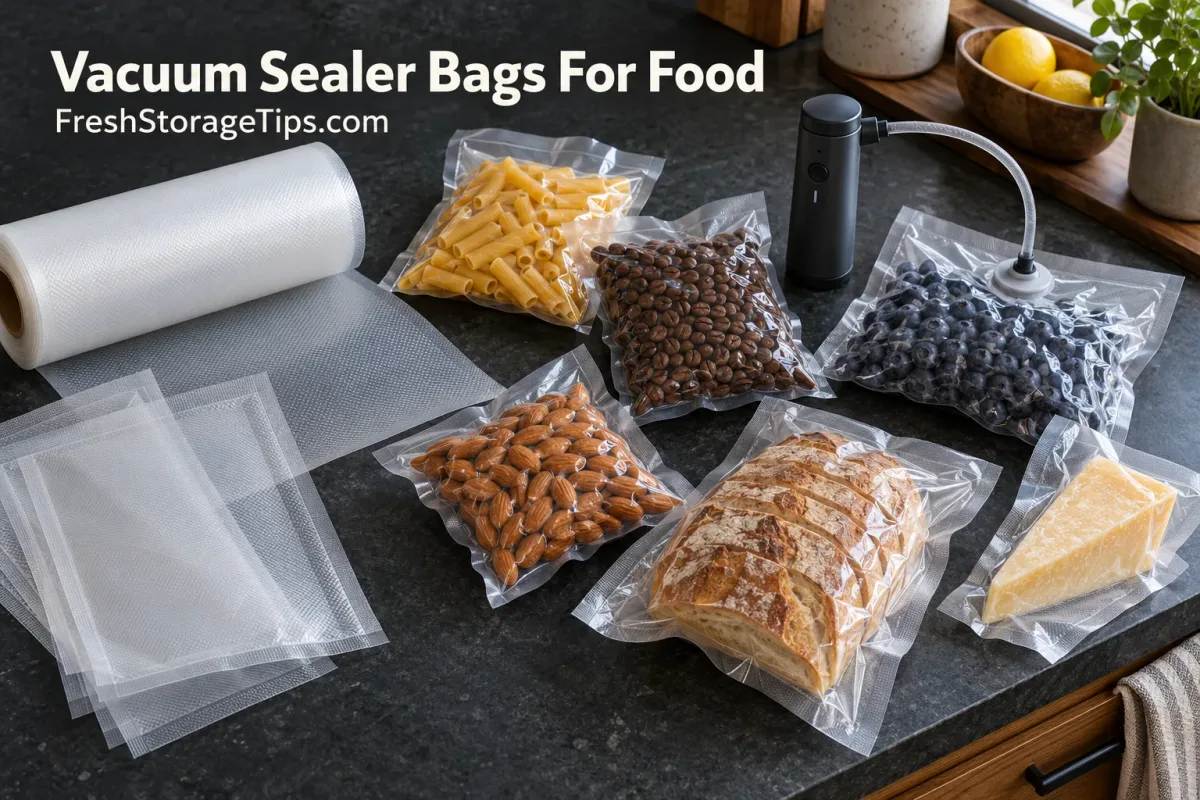
Vacuum Sealer Rolls (8" and 11")
One pack of six rolls: three 11" x 20’ and three 8" x 20’. The listing says BPA free, for suction vacuum sealers, and for freezer, fridge, microwave and boiling use. Not listed for sous vide.
Look at these rolls on Amazon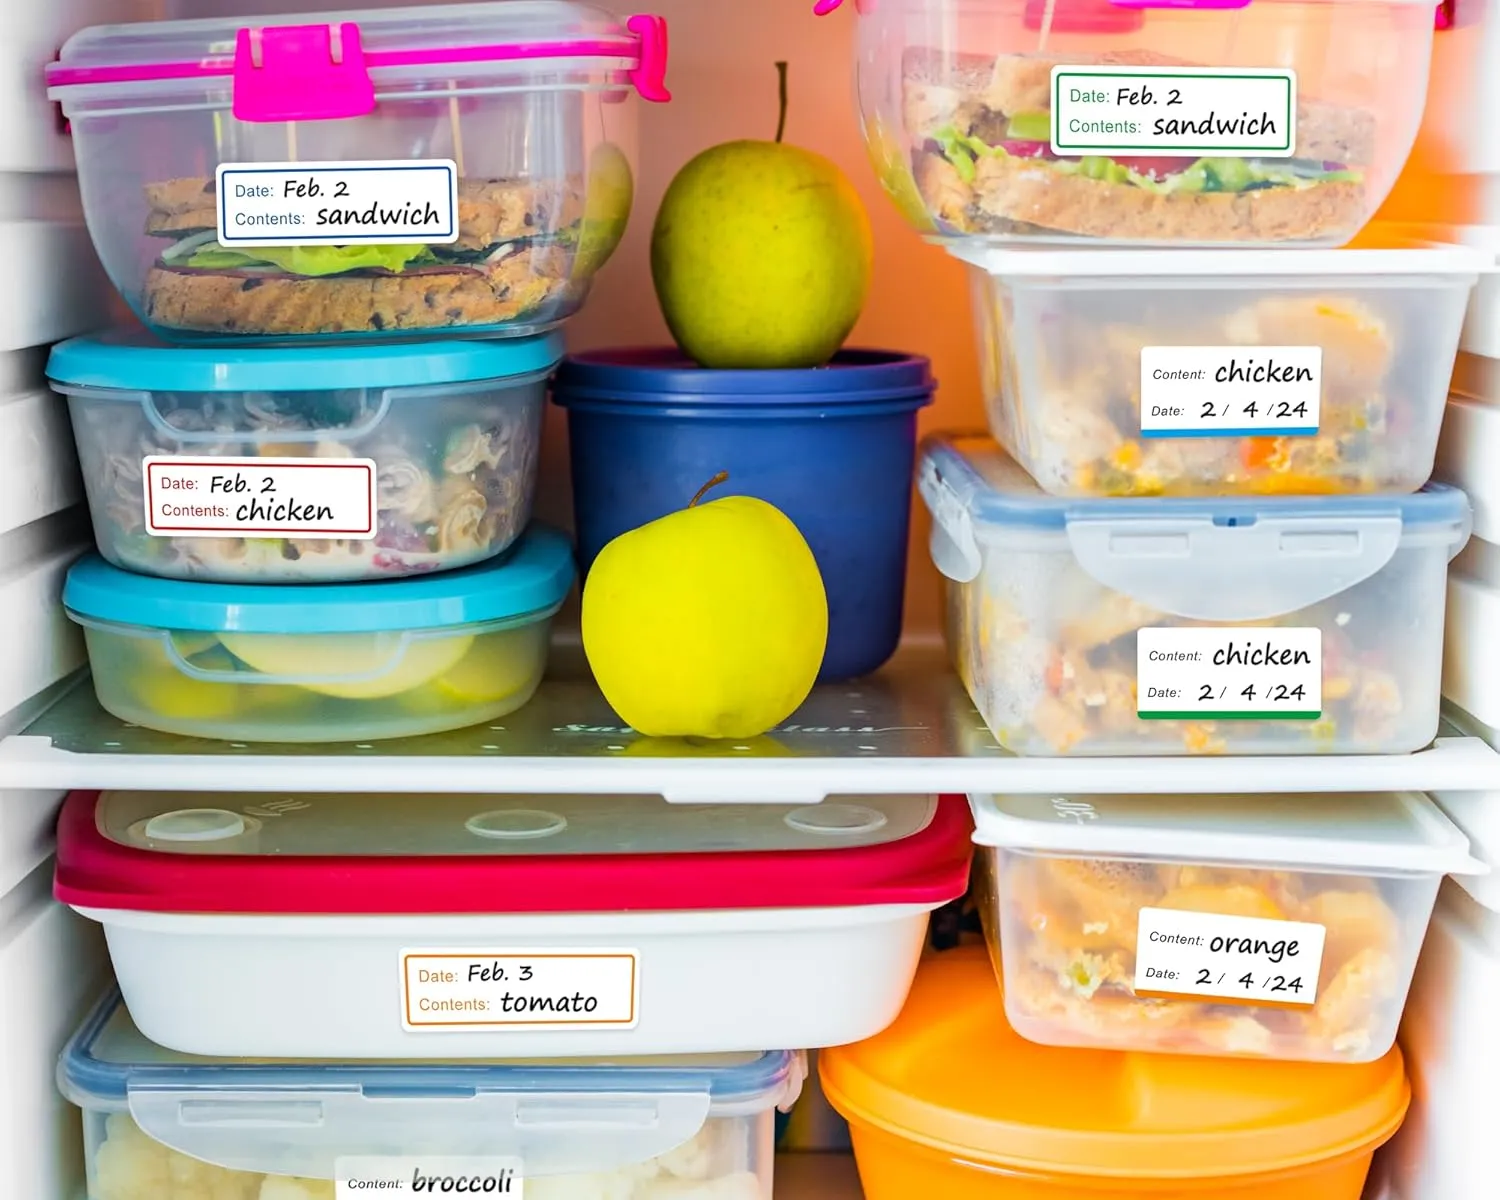
Freezer Labels
Whatever bag you use, write the food and the date on it. In the freezer, every sealed bag looks the same after a month.
Check labels on AmazonAffiliate links: as an Amazon Associate, I earn from qualifying purchases, at no extra cost to you. Product details come from the listings on October 25, 2026.
Still need the machine itself? Here are the vacuum sealers I’d pick for different kitchens.
Quick Questions
Do vacuum sealer bags work with any machine?
No. Suction sealers need textured bags or rolls. Chamber sealers use smooth pouches and usually take textured bags too. Smooth chamber pouches don’t work in suction sealers, and pump systems need the valve bags their maker lists. Check your machine’s manual.
Are vacuum sealer rolls better than pre-cut bags?
Rolls are more flexible because you cut every bag to the length you need. Pre-cut bags are faster for standard portions. Both work in a suction sealer.
How much space should you leave in a vacuum sealer bag?
FoodSaver’s manual says at least 3 inches between the food and the top of the bag, so the bag can pull tight against the food when it seals.
Can you reuse vacuum sealer bags?
Only some, and only if the bag maker allows it. FoodSaver says bags that held fruits, vegetables, bread or dry goods can be washed by hand and reused, but bags that held raw meat, fish, eggs, unpasteurized cheese or greasy food should be thrown away.
Can you microwave or boil vacuum sealer bags?
Only if the bag says so. Some rolls are listed for microwave and boiling use, others aren’t, and sous vide is a separate claim to look for. Follow the directions that come with the bags.
Sources & Transparency
Which bags fit which machine, and reusing chamber pouches: Anova Culinary. Making a bag from a roll, the 3-inch rule, the extra inch for reuse and seal problems: the FoodSaver FM2100 owner’s manual. Which bags to reuse or throw away: FoodSaver’s answer to a customer question on Target. “Follow the directions that come with the vacuum packages”: Clemson Cooperative Extension, HGIC 3024. Bag and sealer details come from the Amazon product listings, read on October 25, 2026. Tips and rules of thumb marked as mine are my own suggestions. I haven’t tested these products.
Last updated: